Integración domótica owserver (1-Wire), gratuita y de código abierto
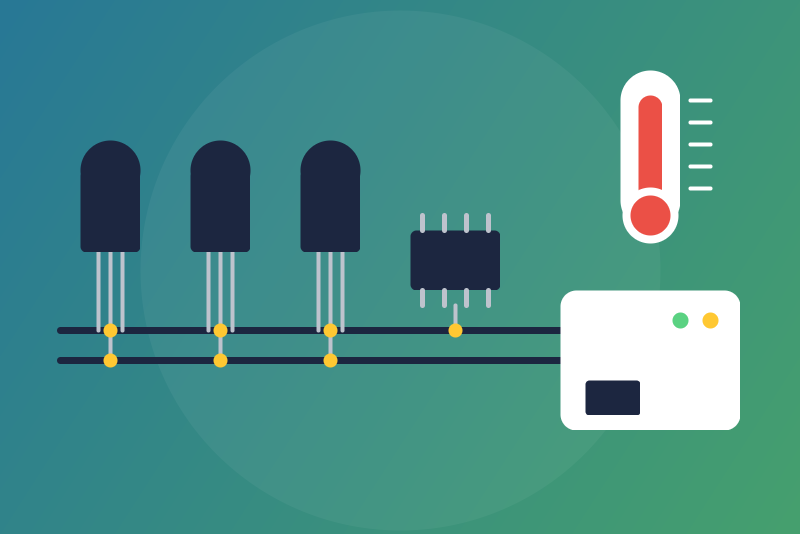
Unofficial: 1-Wire probes read on an owserver (OWFS) of your network: temperatures, counters.
Publicado por LM1LC3N7
- Dispositivos
- Versión 0.1.1
- Requiere Gladys >=5.1.0
- ★ 0
La documentación de esta integración la escribe su autor y, por ahora, solo está disponible en inglés.
Unofficial connector, not affiliated with the OWFS project. It reads the 1-Wire devices served by an owserver (the network server of OWFS) running on your network, over its TCP protocol (port 4304), without any cloud.
Tested against owserver in its fake-adapter mode (owserver --fake), never
tested with a real 1-Wire bus: tell us how it works with yours.
What you get
One Gladys device per 1-Wire device listed at the root of owserver, keyed by
its ROM id (for example 28-4AEC29CDBAAB): a new address of the owserver, or
the probe moved to another bus, keeps its device and its history.
| Family | Chip | Features |
|---|---|---|
| 10, 22, 28, 3B, 42 | DS18S20, DS1822, DS18B20, DS1825, DS28EA00 | Temperature (°C) |
| 26 | DS2438 | Temperature (°C) |
| 1D | DS2423 | Counter A, Counter B |
| 05, 12, 3A, 29 | DS2405, DS2406, DS2413, DS2408 | Inputs, as opening sensors |
Other families (DS2450, DS2409 hubs, EDS sensors...) are named in the status as "not supported yet". Devices behind a DS2409 hub are not read.
Read-only: only directory and read requests are sent, nothing is ever written to the bus. The outputs of the switches (DS2406, DS2408, DS2413) will come later.
Setting up owserver
owserver must listen on the network, not only on localhost. In
/etc/owfs.conf of the machine that holds the 1-Wire adapter:
server: usb = all          # or: server: i2c = ALL:ALL for a DS2482
server: port = 0.0.0.0:4304
then restart owserver. Check from another machine with
owdir -s 192.168.1.30:4304 /.
Configuration
- owserver address: its IP address or host name, with a port only if it is not 4304.
- Read interval: 30 s, 1 min (default), 2 or 5 min. With many devices the interval is lengthened so that a full read stays under 250 values a minute (64 devices are read at most).
Then open the Discover tab and create the devices you want.
How values are checked
- Temperatures are asked in Celsius whatever owserver is set to. A value outside -55 to +125 °C, or a text that is not a number, is not published.
- 85 °C is the value a DS18x20 gives when it did not convert (a power glitch, a parasite-powered probe that lost its supply): it is held back, unless the previous temperature of that probe was within 10 °C of it (that previous value is kept in memory only: after a restart, a first 85 °C is held back). The status names the probe; check its power supply.
- Counters (DS2423) do not go down in Gladys (except after you accept a
drop, or when
/datawas lost and the device is not created in Gladys yet, since then nothing holds its last value): a lower value (a counter without battery starts again from 0 after a power cut) is held back and the status says so. When it is right, click Accept the counter drops: each counter held takes its lower value as its new start, published from the next read. Saving the configuration never does it. - Inputs: owserver gives the level of the pin. A pin pulled low (a contact closed to ground) is shown as closed, a pin held high (a contact open, with its pull-up) as open.
- A device that fails (gone from the bus, a bus error, a value not readable) leaves only that device unread; the status names it. A round of reads starts no new device after 60 s: the devices left over are read first next time. After a round, the bus rests at least half the interval.
Buttons
- Test the connection: reads the owserver once when a read is due (never more than one per interval), otherwise tells the last read.
- Accept the counter drops: see above.
Status messages
The configuration screen shows the address, how many devices were read, and
notes: devices not read (and why), 85 °C held back, counters held back,
families not supported yet, devices not created in Gladys, a /data folder
that cannot be read (then counters are checked only against the values Gladys
holds and nothing is saved; tried again every 10 s), or that does not finish
writing (values are still read; nothing is kept for a restart). A state file
that is not valid JSON is started again from empty.
Privacy and security
owserver has no login: nothing secret is configured, stored or logged. The
integration keeps in its /data folder only the time of the last read, the
ROM ids seen and the counter values.
OWFS is distributed under the GPL 2.0; this integration contains none of its
code and only talks to owserver over the network (see THIRD_PARTY_NOTICES.md).
Parámetros de configuración
Estos son los parámetros que owserver (1-Wire) te pide en su pantalla de configuración en Gladys.
| Parámetro | Tipo | Obligatorio | Descripción |
|---|---|---|---|
| owserver (1-Wire) | section | No | Unofficial connector, not affiliated with the OWFS project. It reads the 1-Wire devices served by an owserver (the network server of OWFS, port 4304) running on your network, for example on a Raspberry Pi with a DS9490R or DS2482 adapter: one device per 1-Wire device, with the temperature of the DS18B20, DS18S20, DS1822, DS1825, DS28EA00 and DS2438 probes, the two counters of a DS2423, and the inputs of the DS2405, DS2406, DS2408 and DS2413 as opening sensors. Read-only: nothing is ever written to the bus (the outputs will come later). Tested against owserver in its fake-adapter mode, never tested with a real 1-Wire bus. |
| owserver address | string | Sí | The IP address (or host name) of the machine running owserver, with a port only if it is not 4304. owserver must listen on the network (for example "server: port = 0.0.0.0:4304" in /etc/owfs.conf), not only on localhost. Each 1-Wire device keeps its Gladys device if the address changes (they are keyed by their ROM id). |
| Read interval | select | No | How often the 1-Wire devices are read. With many devices, the interval is lengthened so that a full read stays under 250 values a minute. |
Cómo instalar owserver (1-Wire) en Gladys
- En Gladys, abre Integraciones: owserver (1-Wire) aparece en el catálogo junto a las integraciones nativas, con una insignia de comunidad.
- Haz clic en Instalar. Gladys descarga la imagen Docker (
ghcr.io/lm1lc3n7/gladys-owserver:0.1.1), la ejecuta en un entorno aislado del núcleo y genera la interfaz de la integración (dispositivos, descubrimiento y configuración). - Abre la pantalla de Configuración de la integración, rellena los parámetros y guarda.
- También puedes instalarla directamente desde la URL de su repositorio: https://github.com/LM1LC3N7/gladys-owserver.
owserver (1-Wire) requiere Gladys >=5.1.0. El catálogo de Gladys se actualiza cada hora, así que una nueva versión está disponible como máximo una hora después de publicarse.
¿Todavía no usas Gladys? Es gratuito y de código abierto: sigue la guía de instalación para empezar.
Sobre las integraciones externas
owserver (1-Wire) es una integración externa: una integración comunitaria empaquetada como contenedor Docker y publicada en GitHub. Gladys la instala con un clic y la ejecuta en un entorno aislado del núcleo. La publica y mantiene LM1LC3N7, no el equipo principal de Gladys.
- Explorar todas las integraciones, nativas y de la comunidad
- Crear y publicar tu propia integración externa
- Código fuente en GitHub — fuente de esta documentación