Integración domótica MiLight, gratuita y de código abierto
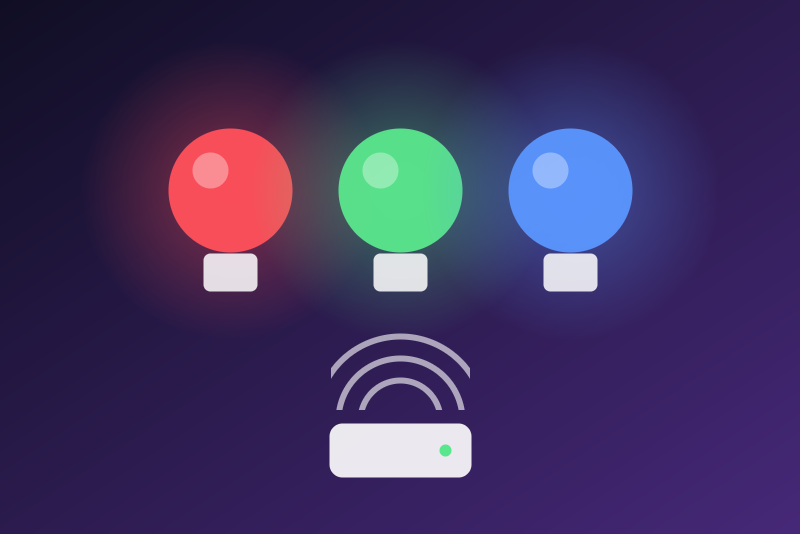
MiLight / LimitlessLED lamps through their Wi-Fi bridge, on the local network.
Publicado por LM1LC3N7
- Dispositivos
- Versión 0.1.1
- Requiere Gladys >=5.1.0
- ★ 0
La documentación de esta integración la escribe su autor y, por ahora, solo está disponible en inglés.
Drive MiLight / LimitlessLED lamps (also sold as Easybulb, LimitlessLED, Boxlight…) through their Wi-Fi bridge, on the local network: on, off, brightness, colour and white temperature.
Unofficial integration, not affiliated with MiLight, Futlight or LimitlessLED. It has never been tested with a real bridge: it is written from the protocol published by LimitlessLED and tested against a simulated bridge only.
What you need
- A MiLight Wi-Fi bridge already set up with the official app, with a fixed
IP address (a DHCP reservation in your router):
- v6: iBox 1 (the bridge with a lamp on top), iBox 2, and the bridges sold since 2016 (UDP port 5987);
- legacy: the Wi-Fi bridges v3 to v5 (UDP port 8899).
- Your lamps paired to the zones (groups 1 to 4) of the bridge with the official remote or app.
Configuration
- Bridge IP address: the IPv4 address of the bridge, for example
192.168.1.50(add:portonly if you changed it). A broadcast, multicast or network address (ending in.255or.0) is refused: the commands go to the bridge only. - Bridge model: v6 or legacy.
- Zones: tick the zones of each kind of lamp:
- RGB+CCT (colour and tunable white, also sold as RGBWW): on/off, brightness, colour, white temperature (2700 K to 6500 K). v6 only.
- RGBW (colour and a single white): on/off, brightness, colour (a colour close to white switches to the white LED).
- Dual white (CCT): on/off only. Their brightness and temperature are steps up and down on the remote, never a level: Gladys cannot set them.
- Lamp of the iBox 1 bridge: on/off, brightness, colour. v6 only.
- Save, then add the lamps from the Discovery tab.
One Gladys device per kind and zone: every bulb paired to a zone obeys together. The device ids depend on the kind and the zone only, not on the address: a new address keeps your devices.
The state is assumed, never confirmed
MiLight bulbs receive their orders by radio and never answer. Nothing can tell Gladys whether a bulb is really on, nor its brightness or colour:
- Gladys shows the last command sent, an assumed state. The badge of each lamp says so (orange dot).
- A v6 bridge acknowledges each order: the command succeeds when the bridge acknowledged it (the bridge got it, not necessarily the bulb, out of reach or unplugged). Without an acknowledgement the command fails with "sent, the bridge did not acknowledge it" (the bulb may have changed anyway).
- A legacy bridge never answers: a command succeeds as soon as it left the server. The integration cannot know whether the bridge got it.
- A bulb switched with the remote or the official app is not seen by Gladys.
Turning off
"Off" is treated as the safe command:
- it goes in front of every other command and cancels the commands of the same lamp still waiting (nothing clicked before it leaves after it);
- it is sent three times (at once, then 0.5 s and 1.5 s later), because a radio order can be lost; a resend is skipped only when a newer command of that lamp has already left;
- it depends on no option, no queue limit, no identity check of the bridge and no read of the configuration: the address of the bridge is also kept in the integration storage, so an "off" leaves even before the configuration is read;
- not acknowledged by a v6 bridge (or not sent at all), it fails with a message saying so, and is sent again every 30 s for 10 min after the click, a restart of the integration included. It stops as soon as the bridge acknowledges it (Gladys then shows the lamp off) or a newer command of that lamp leaves. The badge of the lamp says it is waiting, then "never confirmed" after 10 min.
An "off" is refused only when no bridge address is known at all (never configured), when the lamp does not exist on this kind of bridge (an RGB+CCT lamp or the iBox 1 lamp on a legacy bridge), or while the integration is stopping.
Other commands
On, brightness, colour and temperature:
- need the configuration read and the zone ticked;
- light the lamp first (a MiLight order to a zone also turns it on), so Gladys then shows the lamp on;
- leave one every 100 ms at most (the bridge drops orders sent faster), and are answered within 3.5 s (Gladys stops waiting at 5 s): a command that could not start in time fails with "nothing sent";
- on a v6 bridge, are refused while the integration storage cannot be read, and while another bridge answers at the address (see below).
Identity of a v6 bridge
The v6 bridge gives its MAC address in each session. The first one seen is kept. If another bridge answers at the address later (a DHCP lease that moved to another bridge), only "off" is sent to it, and the connection status shows both MAC addresses. If you replaced your bridge, press Test the bridge twice within 2 minutes to accept the new one.
Test the bridge
- v6: asks a session from the bridge and shows its MAC address (at most once every 5 s).
- legacy: the bridge never answers, there is nothing to test: turn a lamp on.
Network and privacy
- Local network only, UDP, no account, no cloud, no password.
- A v6 bridge is checked (one session request) at most every 5 minutes, and not at all when a command talked to it in the meantime.
- The integration storage (
/data) keeps the bridge address, its MAC address, the "off" commands waiting and the time of the last check.
Limits
- One bridge per integration.
- Zone 0 ("all zones") of the remote, the night mode, the effects (disco) and the pairing of bulbs are not available (see the TODO of the project).
- The colour wheel of the v6 bulbs is taken from an open-source library (node-milight-promise) and has not been checked on a real bulb: a colour may be slightly shifted.
Parámetros de configuración
Estos son los parámetros que MiLight te pide en su pantalla de configuración en Gladys.
| Parámetro | Tipo | Obligatorio | Descripción |
|---|---|---|---|
| Getting started | section | No | Give the IP address of the MiLight Wi-Fi bridge (fixed in your router) and tick the zones of your lamps (the groups 1 to 4 of the remote). MiLight lamps never report their state: Gladys shows the last command sent. |
| Bridge IP address | string | Sí | IPv4 address of the bridge on the local network, with an optional port (5987 for a v6 bridge, 8899 for a legacy one by default). |
| Bridge model | select | No | v6: iBox 1 (with a lamp), iBox 2 and the bridges sold since 2016. Legacy: Wi-Fi bridges v3 to v5. |
| RGB+CCT zones | multi_select | No | Zones of the colour and tunable white lamps (RGB+CCT, also sold as RGBWW). v6 bridge only. |
| RGBW zones | multi_select | No | Zones of the colour lamps with a single white (RGBW). |
| Dual white zones | multi_select | No | Zones of the dual white lamps (CCT): on and off only, their brightness has no level. |
| Lamp of the iBox 1 bridge | boolean | No | Creates the lamp built into the iBox 1 bridge. v6 bridge only. |
| Language of the device names | select | No |
Cómo instalar MiLight en Gladys
- En Gladys, abre Integraciones: MiLight aparece en el catálogo junto a las integraciones nativas, con una insignia de comunidad.
- Haz clic en Instalar. Gladys descarga la imagen Docker (
ghcr.io/lm1lc3n7/gladys-milight:0.1.1), la ejecuta en un entorno aislado del núcleo y genera la interfaz de la integración (dispositivos, descubrimiento y configuración). - Abre la pantalla de Configuración de la integración, rellena los parámetros y guarda.
- También puedes instalarla directamente desde la URL de su repositorio: https://github.com/LM1LC3N7/gladys-milight.
MiLight requiere Gladys >=5.1.0. El catálogo de Gladys se actualiza cada hora, así que una nueva versión está disponible como máximo una hora después de publicarse.
¿Todavía no usas Gladys? Es gratuito y de código abierto: sigue la guía de instalación para empezar.
Sobre las integraciones externas
MiLight es una integración externa: una integración comunitaria empaquetada como contenedor Docker y publicada en GitHub. Gladys la instala con un clic y la ejecuta en un entorno aislado del núcleo. La publica y mantiene LM1LC3N7, no el equipo principal de Gladys.
- Explorar todas las integraciones, nativas y de la comunidad
- Crear y publicar tu propia integración externa
- Código fuente en GitHub — fuente de esta documentación