Integración domótica IOmeter, gratuita y de código abierto
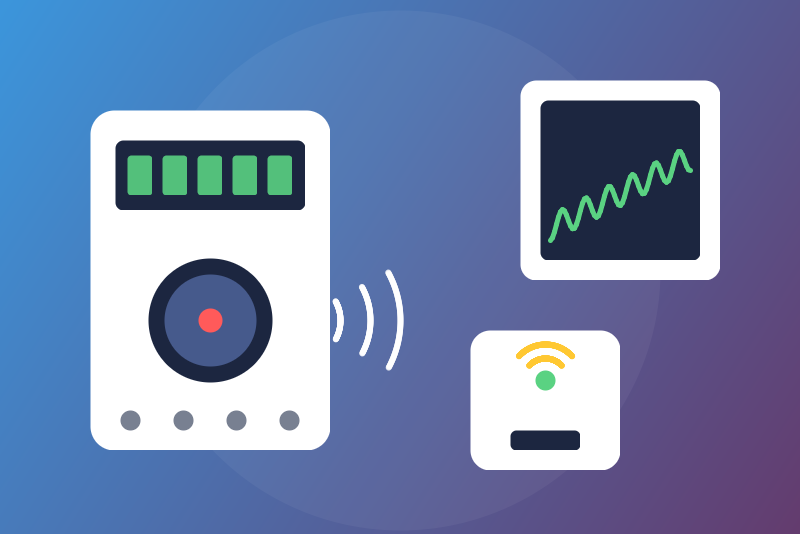
Unofficial: IOmeter smart meter reader on your network: power, consumption and injection indexes.
Publicado por LM1LC3N7
- Dispositivos
- Versión 0.1.1
- Requiere Gladys >=5.1.0
- ★ 0
La documentación de esta integración la escribe su autor y, por ahora, solo está disponible en inglés.
Unofficial integration, not affiliated with IOmeter GmbH. Never tested with a real IOmeter: built from the client library published by the maker. Please report what you see.
What it does
IOmeter is a reader clipped on the optical port of a German smart meter (moderne Messeinrichtung or smart meter gateway), with a Wi-Fi bridge on your network. This integration reads the local API of the bridge, without any cloud nor account, and is read only: it never writes anything to the bridge nor to the meter.
| Value | In Gladys | When |
|---|---|---|
| Power taken from the grid (W) | energy sensor, power | every 10 s |
| Net power, negative when injecting (W) | sensor | every 10 s |
| Consumption index 1.8.0 (kWh) | energy sensor, index: the energy monitoring | every minute |
| Tariff 1 and 2 indexes, injection index 2.8.0 (kWh) | sensors | every minute |
| Power of each phase (W) | sensors | every 10 s |
| Reader battery (%), bridge and reader signals (dBm), reader connected and attached (1/0) | sensors | every minute |
Only the values your meter gives are created. Gladys derives the consumption and its cost from the consumption index by itself. The injection is never in it: it is a plain sensor. This is not the Discovergy (inexogy) integration, which reads the cloud of the metering operator.
Setup
- Set up your IOmeter with its app, so that the bridge is on your Wi-Fi.
- Find the IP address of the bridge in your router or in the IOmeter app. You can also leave the address empty and open the Discover tab: the bridges announced on your network are listed in the status of the integration (nothing is read until you enter an address).
- Enter the address in the configuration of the integration and save. Click Test the connection: it reads the net power and the consumption index once.
- In the Discover tab, create the IOmeter device.
Give the bridge a fixed address in your router. If it changes, enter the new one: the device and its history are kept.
The consumption index guard
The consumption index is billed by Gladys: a wrong jump would count kWh that were never used. So the integration publishes a new index only when it is plausible after the last one (not lower, not more than 100 kW on average since then). A jump or a drop is held back: the last accepted value is sent again, the status of the integration says what is held, and it stays held across restarts. Nothing confirms it by time nor by repetition.
If the value is right (a new meter, a reset, a long outage), click Accept the held index twice in the configuration: the first click lists the value and accepts nothing, the second one, a few seconds later and within 5 minutes, takes exactly that value. A jump is then counted at once as consumption; a drop bills nothing and the consumption goes on from there. Saving the configuration accepts nothing.
The tariff and injection indexes are never published lower than before nor at 0; accepting a drop of the consumption index (a new meter) lets them start again from the new values. A jump of one of them further than a home can use is held too (it never becomes the new floor): it is taken back as soon as the meter gives a plausible value again, or once the meter has kept giving the new value, each reading plausible after the one before, for an hour (these indexes are not billed). On a new device, their first value is sent once a second reading agrees with it.
What the status says
- Connected, with notes: the status page not answering (the reading goes on), no new reading of the meter for 5 minutes (the power is then no longer sent: reader off the meter, battery empty or out of radio range), a reading more than 2 hours old, judged on the clock of the bridge when it gives one (then nothing of it is sent, the indexes neither), no index register, a counter read lower than before, an index held back.
- Could not be read: no answer, unreachable, HTTP error, an answer too large (over 64 KiB) or that is not an IOmeter one, no reading yet. The integration tries again after 10 s, then waits twice as long each time, up to 5 minutes.
- When Gladys does not give the configuration at a connection, the integration tries again the same way, without end.
The Test the connection button and the Discover tab read the bridge at once, outside the 10-second rhythm and without waiting for a retry delay (one request at a time).
Privacy
The meter number, the installation id and the id of the bridge are ignored by the integration (never taken out of the answers): they reach no log, status nor file. /data holds only the reference of the consumption index and the value held back.
Limits
- Never tested with a real IOmeter: the pages, units and OBIS codes are those of the maker's library (version 1.0.3).
- The bridge also offers a stream (Server-Sent Events); this integration polls every 10 seconds instead.
- One bridge per integration.
Parámetros de configuración
Estos son los parámetros que IOmeter te pide en su pantalla de configuración en Gladys.
| Parámetro | Tipo | Obligatorio | Descripción |
|---|---|---|---|
| IOmeter | section | No | Unofficial connector, not affiliated with IOmeter GmbH. It reads your IOmeter (the reader clipped on the optical port of a German smart meter, and its Wi-Fi bridge) through the local API of the bridge, without any cloud: the power every 10 seconds, the consumption index (1.8.0) every minute for the Gladys energy monitoring, and, when the meter gives them, the tariff and injection indexes, the power of each phase, the battery and the signal of the reader. Read only. Not the Discovergy (inexogy) integration. Never tested with a real IOmeter. |
| IOmeter bridge address | string | Sí | The IP address of the IOmeter bridge on your network (shown by your router or the IOmeter app; with no address, the Discover tab looks for it on the network), with a port only if it is not 80. Preferably give it a fixed address in your router; if it changes, enter the new one: the device and its history are kept. |
Cómo instalar IOmeter en Gladys
- En Gladys, abre Integraciones: IOmeter aparece en el catálogo junto a las integraciones nativas, con una insignia de comunidad.
- Haz clic en Instalar. Gladys descarga la imagen Docker (
ghcr.io/lm1lc3n7/gladys-iometer:0.1.1), la ejecuta en un entorno aislado del núcleo y genera la interfaz de la integración (dispositivos, descubrimiento y configuración). - Abre la pantalla de Configuración de la integración, rellena los parámetros y guarda.
- También puedes instalarla directamente desde la URL de su repositorio: https://github.com/LM1LC3N7/gladys-iometer.
IOmeter requiere Gladys >=5.1.0. El catálogo de Gladys se actualiza cada hora, así que una nueva versión está disponible como máximo una hora después de publicarse.
¿Todavía no usas Gladys? Es gratuito y de código abierto: sigue la guía de instalación para empezar.
Sobre las integraciones externas
IOmeter es una integración externa: una integración comunitaria empaquetada como contenedor Docker y publicada en GitHub. Gladys la instala con un clic y la ejecuta en un entorno aislado del núcleo. La publica y mantiene LM1LC3N7, no el equipo principal de Gladys.
- Explorar todas las integraciones, nativas y de la comunidad
- Crear y publicar tu propia integración externa
- Código fuente en GitHub — fuente de esta documentación