Connect your Gladys instance to Gladys Plus
When you create a Gladys Plus account, there is one last step to complete: connecting your local Gladys instance (the one installed at your home) to your Gladys Plus account.
Until this step is done, plus.gladysassistant.com shows a "One last step!" page: this is completely normal, nothing is broken! Your Gladys Plus account is active, it just doesn't know yet which Gladys instance it should connect to.
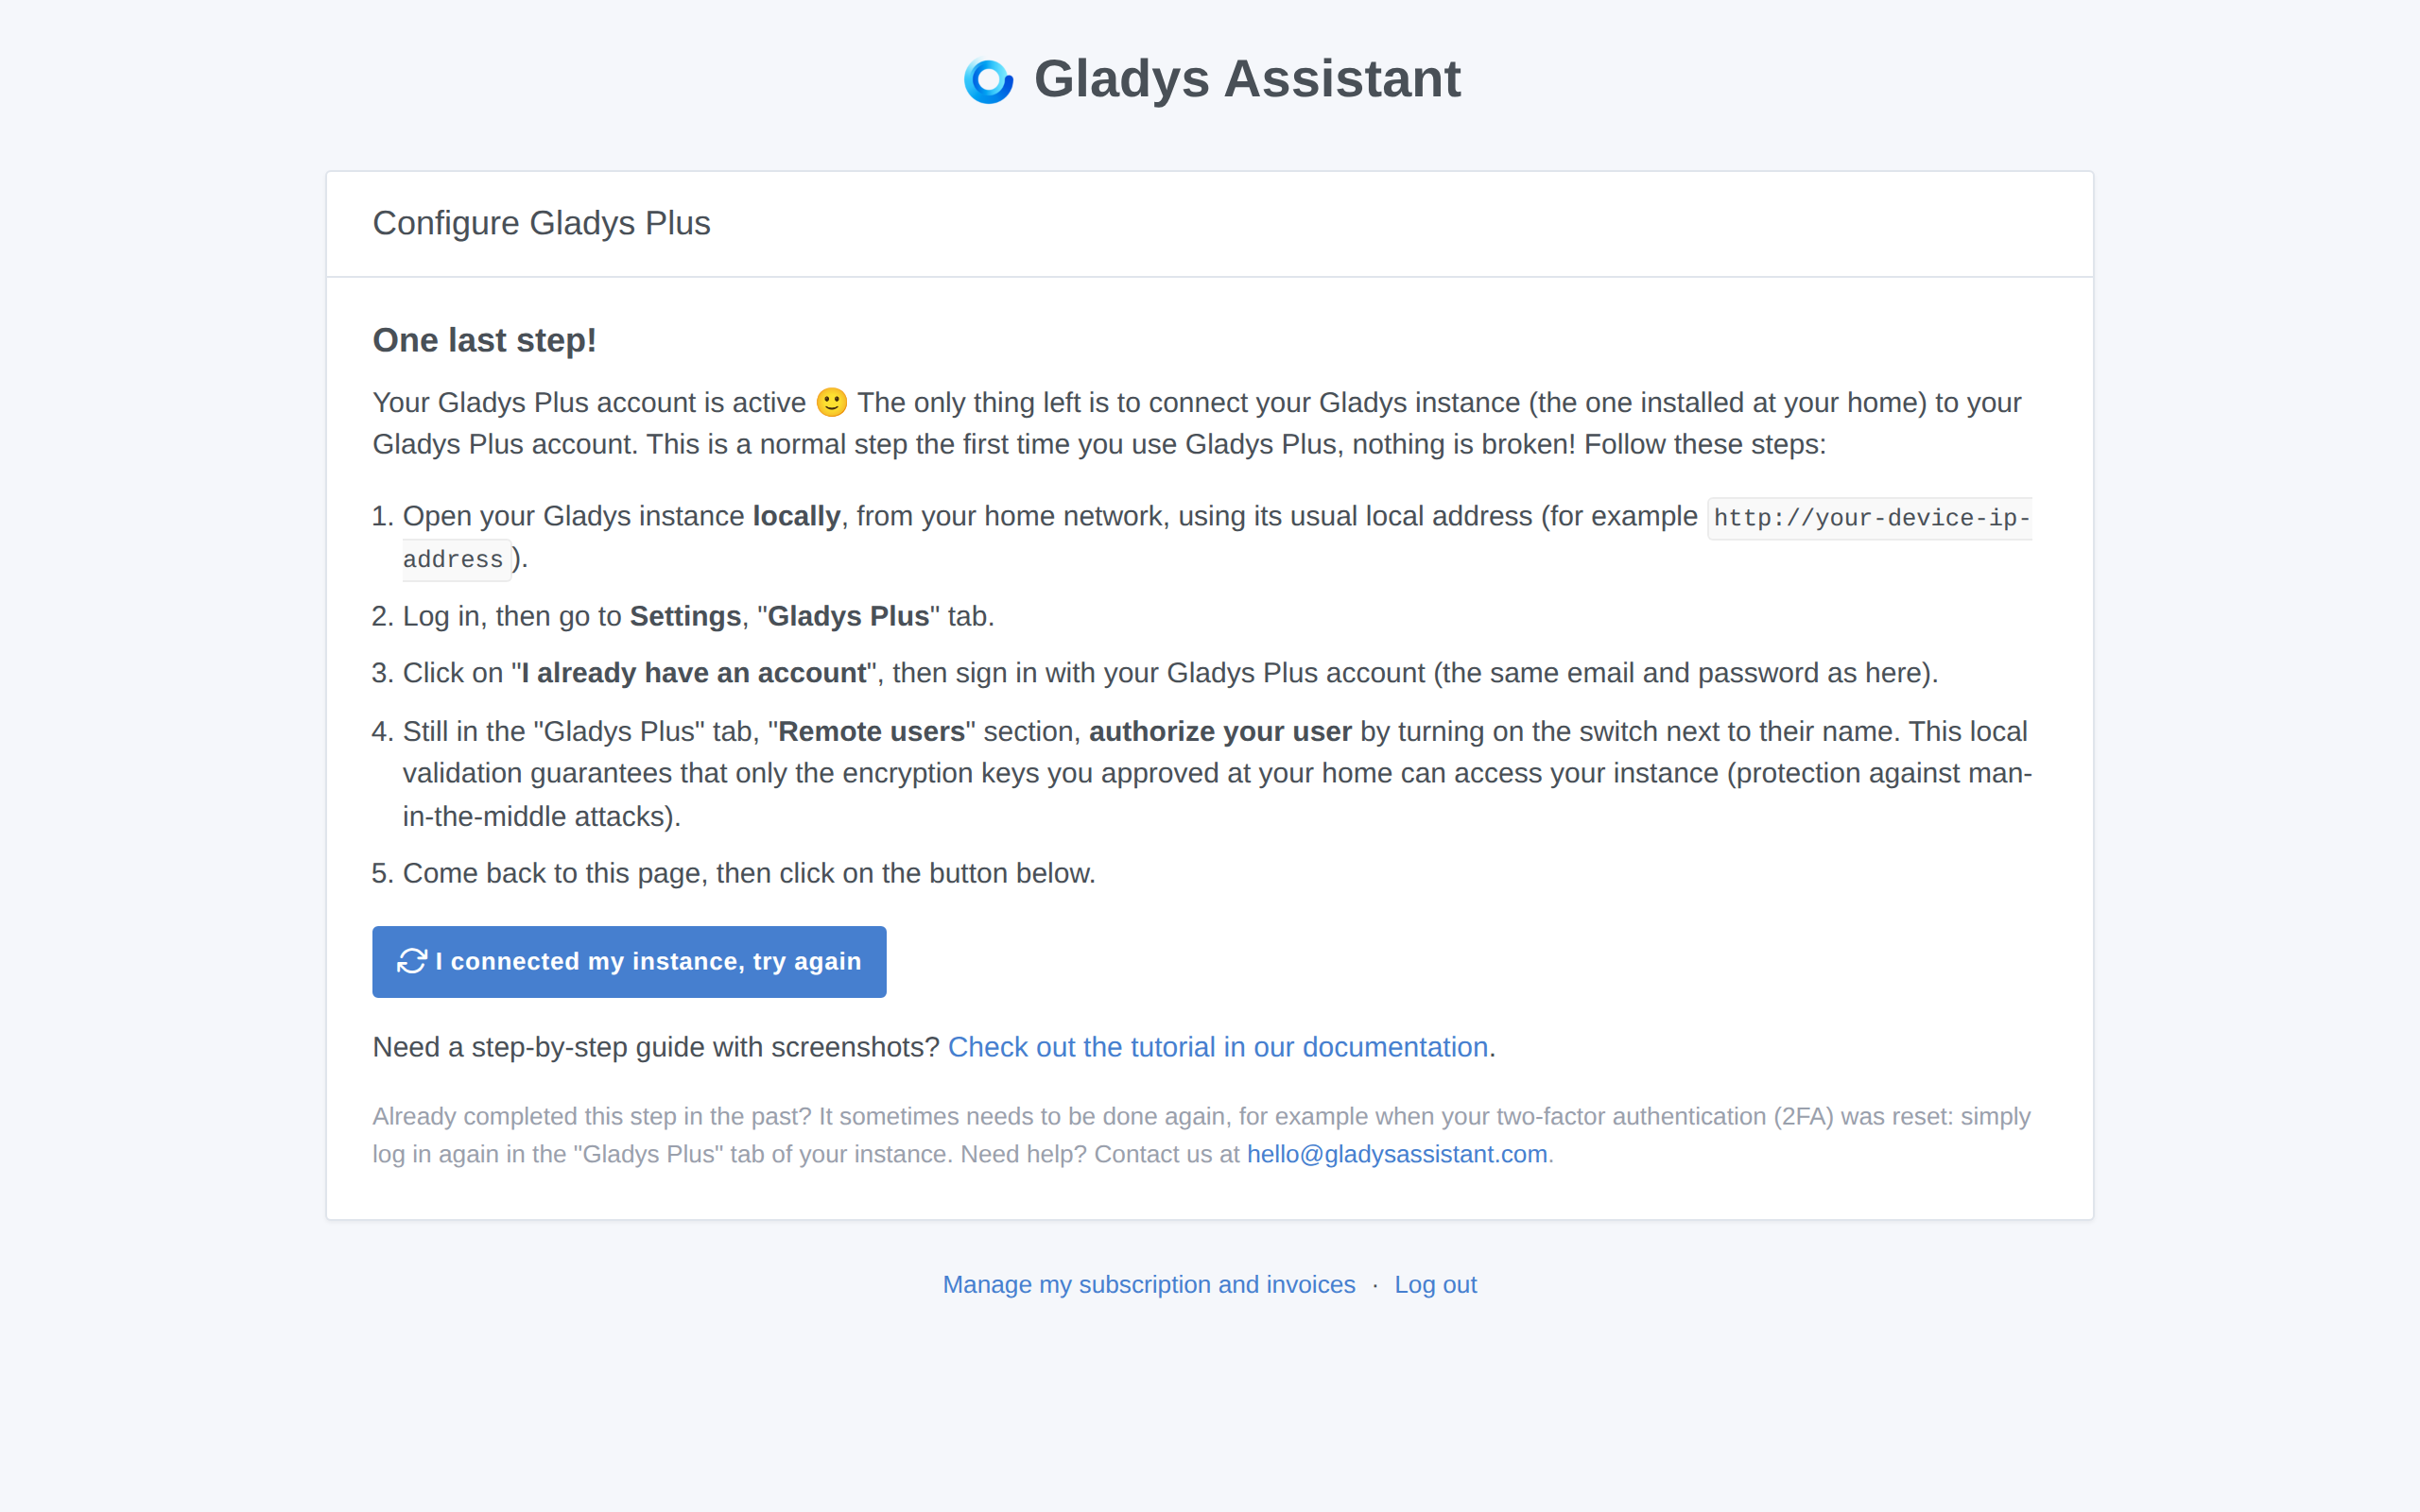
This tutorial walks you through this step, with screenshots.
Prerequisites
- A Gladys instance installed and running at your home (see the installation documentation if needed).
- A Gladys Plus account (created on gladysassistant.com/plus).
Step 1: Open your Gladys instance locally
Open your Gladys instance from your home network, using its usual local address: for example http://192.168.1.30 (the IP address of your Raspberry Pi or the machine where Gladys is installed), or the address provided by your installation method.
Log in with your local Gladys account (the account you created when you installed Gladys — it can be different from your Gladys Plus account).
Step 2: Go to the settings
Click on your profile picture at the top right, then click on "Settings".

Step 3: Open the "Gladys Plus" tab
In the settings, click on the "Gladys Plus" tab in the left menu, then click on "I already have an account".

Step 4: Log in with your Gladys Plus account
Enter the email and password of your Gladys Plus account (the same credentials as on plus.gladysassistant.com), then click on "Login".

If it's the first time you connect, Gladys will ask you to configure two-factor authentication (2FA) to secure your account, and will then display your backup key: save this key somewhere safe outside of Gladys (a password manager for example), it is needed to restore your encrypted backups.
Step 5: Authorize your user locally
Still in the "Gladys Plus" tab, scroll down to the "Remote users" section: it lists all the users of your Gladys Plus account. Authorize your user by turning on the switch next to their name.

Why this step? Gladys Plus is end-to-end encrypted: each Gladys Plus user has their own encryption keys, whose fingerprints are displayed under their name. By authorizing a user here, you validate locally, on your instance, that their keys are accepted. This local validation is what protects your home against man-in-the-middle attacks: nobody, not even the Gladys Plus servers, can grant access to your instance without this validation done at your home.
For the same reason, if a user's keys change (for example when their two-factor authentication is reset), their access is automatically revoked and needs to be authorized again here.
Step 6: Go back to Gladys Plus
Your instance is now connected! Go back to plus.gladysassistant.com and click on the "I connected my instance, try again" button on the "One last step!" page.
You will then be asked to select your Gladys user: choose the local user you want to link to your Gladys Plus account. And that's it, you can now access your home remotely, securely! 🎉
Troubleshooting
- The "One last step!" page comes back even though you already completed this step in the past: this can happen when your two-factor authentication (2FA) was reset. Simply log in again in the "Gladys Plus" tab of your local instance (steps 1 to 5 above).
- "The user has not been authorized locally" error: in your local instance, go to the settings, "Gladys Plus" tab, "Remote users" section, and turn on the switch next to the user's name (see step 5 above).
- Need help? Contact us at [email protected] or ask on the community forum.