Install Gladys Assistant on a mini-PC with Gladys Assistant OS
Gladys Assistant OS is our official installer for mini-PCs. It turns any mini-PC into a dedicated Gladys Assistant box: you write it to a USB drive, start the mini-PC from it, answer a few questions, and Gladys installs itself.
No command line, no Docker to set up by hand: Gladys Assistant OS takes care of everything, and then keeps Gladys up to date on its own.
Models, specs, power draw and budget: Best mini-PC for home automation. I've been running Gladys on a Beelink mini-PC for years, and I recommend the Beelink Mini S13.
What Gladys Assistant OS does for you
Under the hood, Gladys Assistant OS is a standard Ubuntu Server 26.04 LTS, set up for Gladys:
- it installs Ubuntu Server on the internal disk of the mini-PC,
- on first boot, it installs Docker, downloads the latest version of Gladys and starts it,
- it updates Gladys automatically as soon as a new version is released,
- it installs Ubuntu security updates automatically,
- it detects your time zone,
- and Gladys is reachable at
http://gladysassistant.localfrom any device on your network.
Gladys Assistant OS is open source: its code is on GitHub.
What you need
- A mini-PC (or a PC) with an Intel or AMD processor (x86-64) that starts in UEFI mode, which is the case of virtually every computer from the last ten years. Plan at least 8 GB of RAM.
- An internal SSD (NVMe, SATA or eMMC) of at least 16 GB in the mini-PC.
- An Ethernet cable connected to your Internet box or router. The installer does not support Wi-Fi.
- A USB drive of 4 GB or more.
- A screen and a keyboard, only during the installation. Afterwards, the mini-PC runs on its own, without a screen.
- A computer to download the image and write it to the USB drive.
Gladys Assistant OS erases the disk it installs on. Nothing is erased before you confirm it in the installer, but back up anything you want to keep first. The USB drive will be erased too.
Gladys Assistant OS is made for Intel and AMD computers. On a Raspberry Pi, use our official Raspberry Pi image instead.
Step 1: Download Gladys Assistant OS
Download the image of Gladys Assistant OS (an .iso file of about 2 GB):
This link always gives you the latest version. The release notes are on GitHub.
Optional: check that the download is intact
Download the checksum file and put it in the same folder as the image. Then, from that folder:
On Linux:
sha256sum -c gladys-assistant-installer-amd64.iso.sha256
On macOS:
shasum -a 256 -c gladys-assistant-installer-amd64.iso.sha256
Both commands must answer OK.
On Windows, in PowerShell:
Get-FileHash .\gladys-assistant-installer-amd64.iso -Algorithm SHA256
The hash displayed must be the same as the one in the .sha256 file (open it with Notepad).
Step 2: Write the image to a USB drive
The image has to be written to the USB drive with a dedicated tool: copying the .iso file onto the drive does not work.
- Download and install balenaEtcher, available on Windows, macOS and Linux.
- Plug the USB drive into your computer.
- In balenaEtcher, click on Flash from file and select
gladys-assistant-installer-amd64.iso. - Click on Select target and choose your USB drive. Double-check that it is the right drive: it will be erased.
- Click on Flash! and wait for the writing and the verification to finish.
Step 3: Start the mini-PC from the USB drive
- Connect the mini-PC to your router with the Ethernet cable, then plug in the screen, the keyboard and the USB drive.
- Turn the mini-PC on and immediately press the key of the boot menu several times: F7 on Beelink, F10 on Intel NUC, and usually F12, F11 or Esc on other brands.
- In the boot menu, choose your USB drive (its name often starts with
UEFI:).
The menu of Gladys Assistant OS appears, with Install Gladys Assistant highlighted. It starts on its own after 3 seconds.

Open the BIOS settings (usually with Del or F2 at startup), check that the computer boots in UEFI mode (not "Legacy" or "CSM"), and put the USB drive first in the boot order. If it still refuses to start, disable Secure Boot in the same settings.
Step 4: Answer the installer's questions
The installer only asks a few questions. Move with the arrow keys and Tab, check or uncheck an option with Space, and confirm with Enter.
-
Language: English is preselected. Choose your language: the next screens, then the setup page of Gladys, will use it.

-
Keyboard: the layout of your language is suggested (for example French AZERTY for French). Check it carefully, you are about to type your password.

-
Disk:
- if the mini-PC has a single internal disk (disks smaller than 16 GB don't count), there is nothing to choose: Gladys Assistant OS installs on it automatically, using the whole disk;
- if it has several disks, the installer asks which one to use: keep Use an entire disk, select the disk, leave the LVM option as it is, then confirm the summary screen with Done.
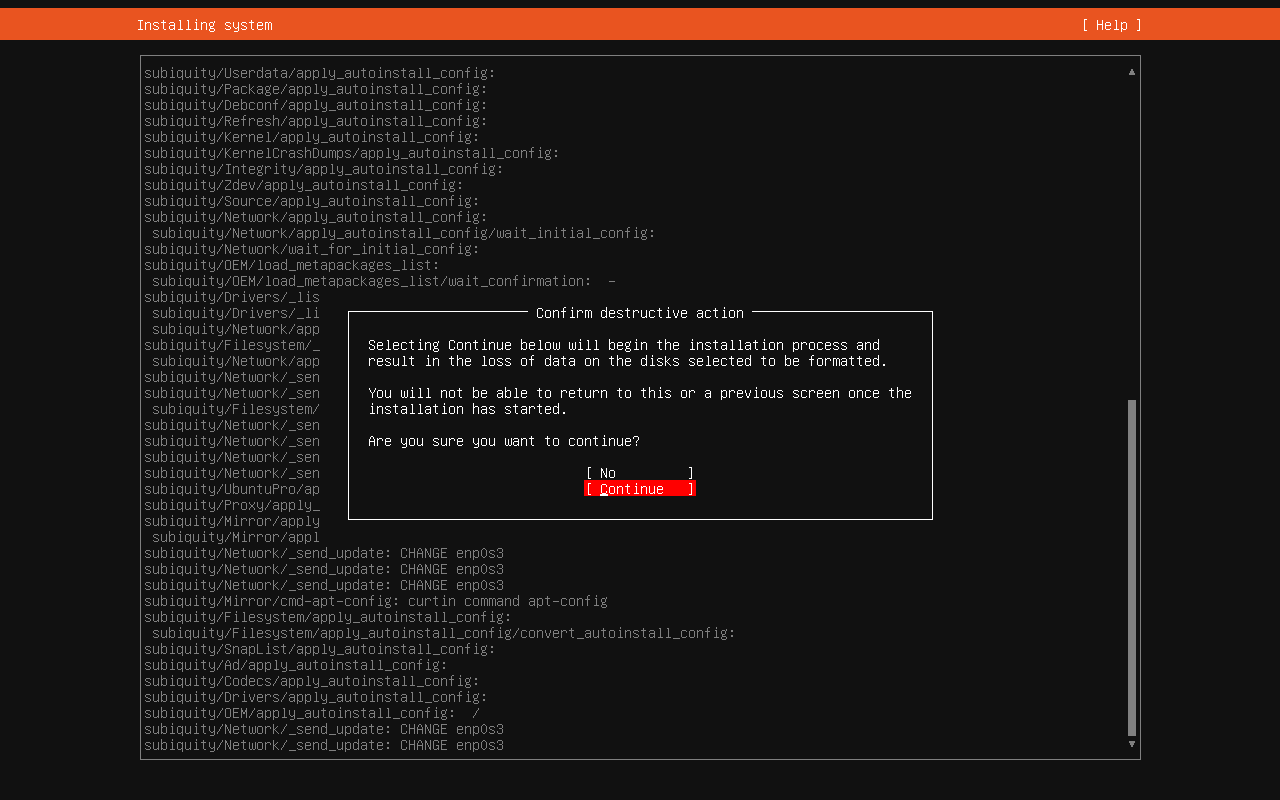
In both cases, the installer then asks you to confirm in a Confirm destructive action window, which can show up a little later, after the account screen. No is selected by default: move to Continue with the arrow keys and press Enter to erase the disk and start the installation. Nothing is erased before this step.
-
Your account: enter your name, a username and a password. This is the only account of the machine (there is no default password): write it down somewhere safe, you will need it for maintenance. The installer also asks for a server name, but the machine is always named
gladys, so you can type anything.
-
SSH: Install OpenSSH server is checked by default. Keep it to be able to log in to the mini-PC remotely from your computer later.

The installation then runs on its own for a few minutes.
Step 5: Let Gladys install itself
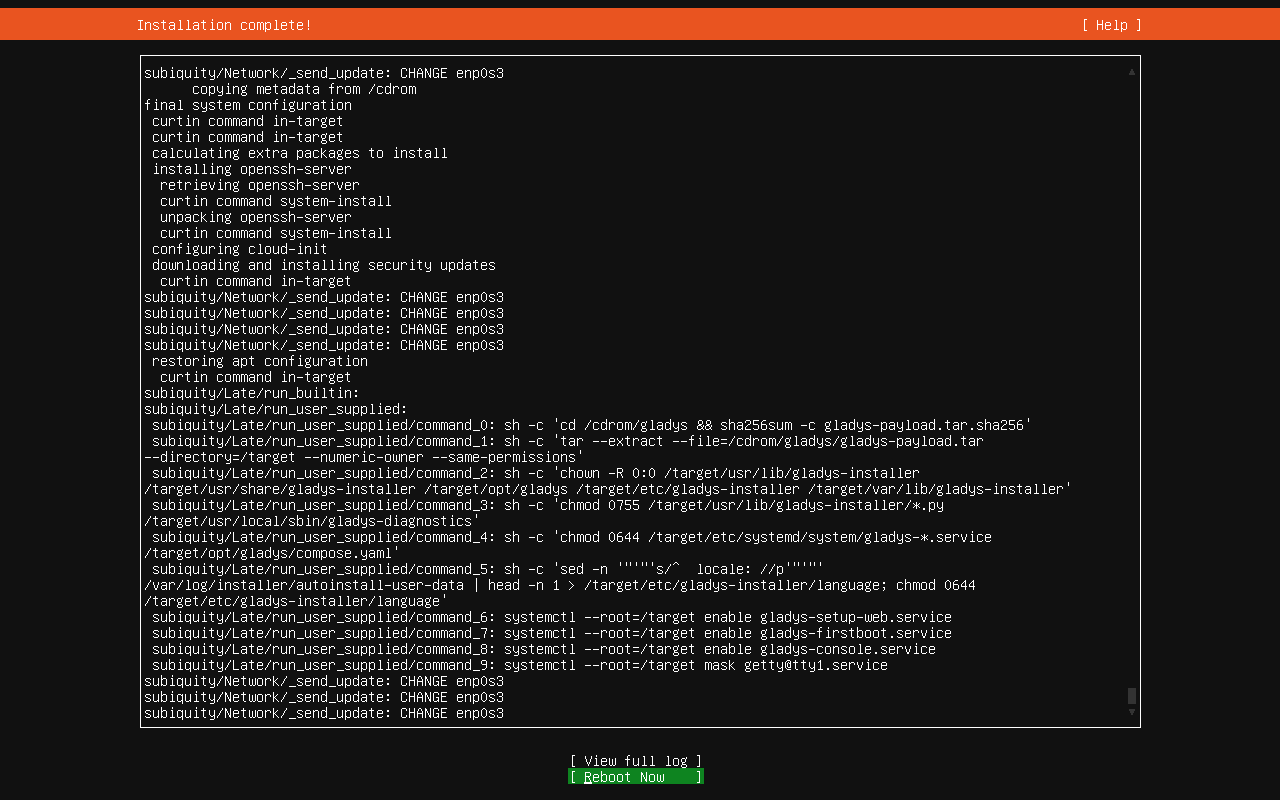
When the screen shows Installation complete!, select Reboot Now with the arrow keys, press Enter, then remove the USB drive (if a message asks you to remove the installation medium, remove it, then press Enter).
On this first boot, Gladys Assistant OS installs Docker, downloads Gladys and starts it. You can follow the progress:
- on the screen of the mini-PC,
- or from your computer or phone, at the setup address shown on the screen (for example
http://192.168.1.42).

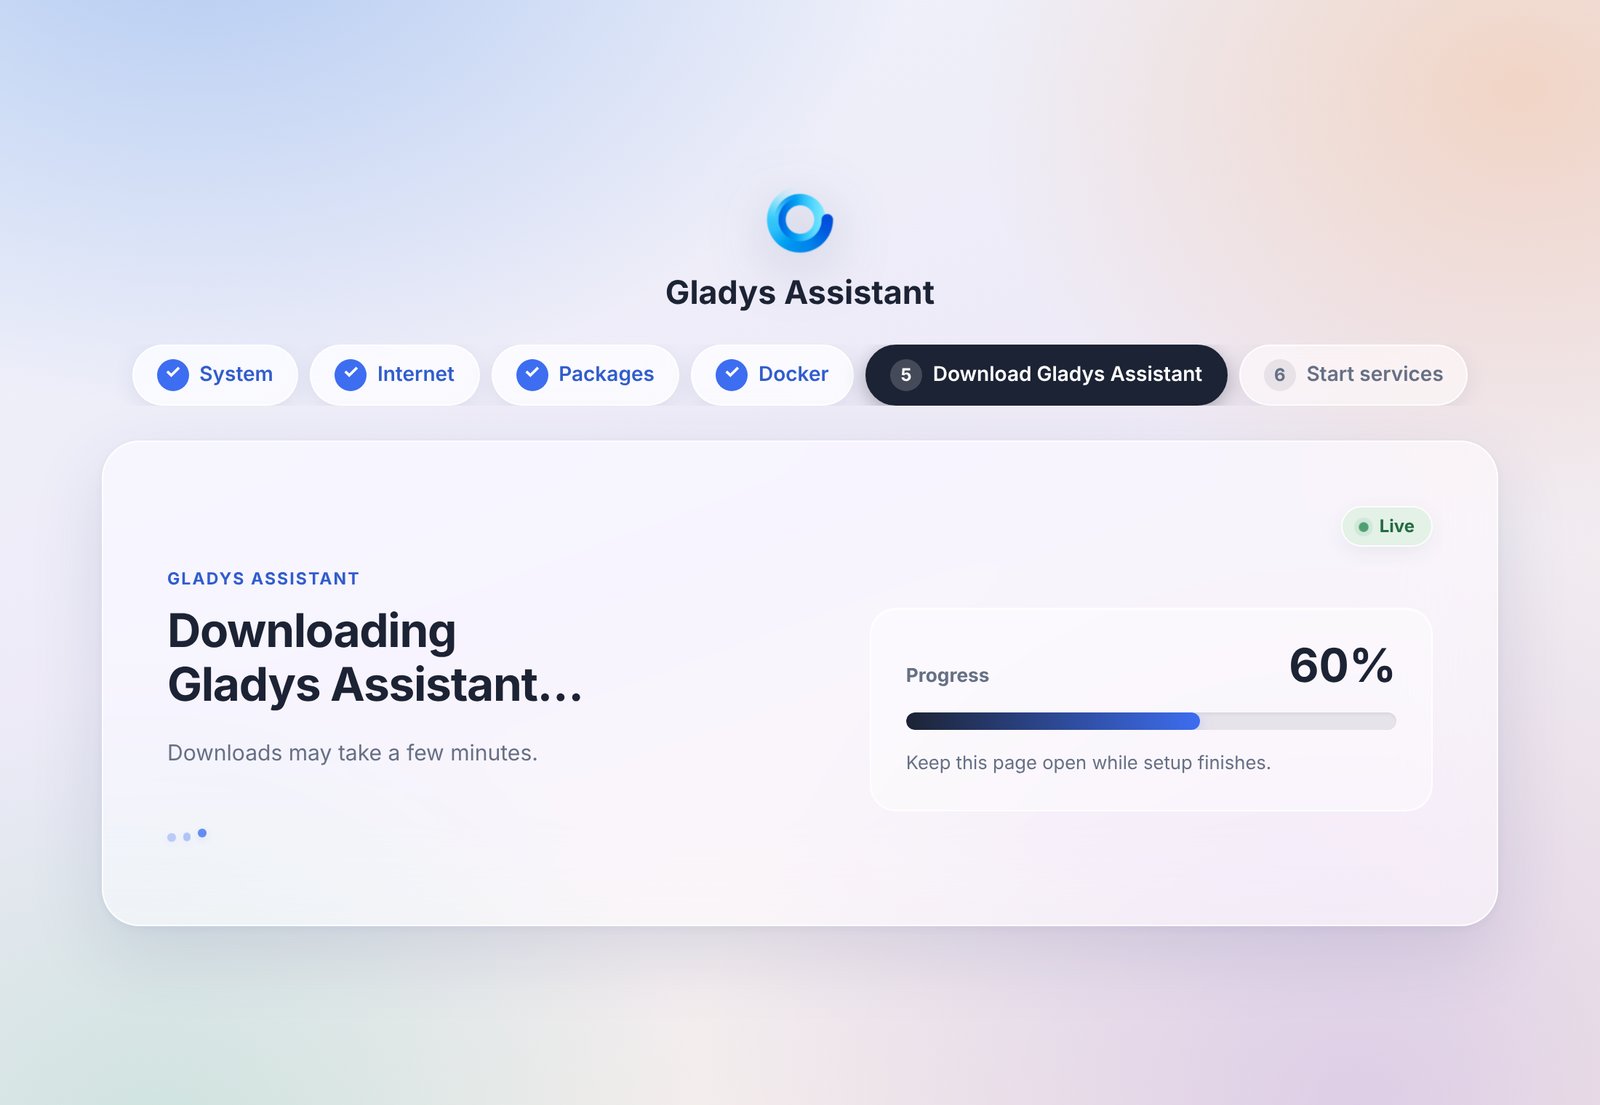
Downloading Gladys is the longest step, and its duration depends on your Internet connection. Keep the mini-PC plugged into the Ethernet cable until the end.
If the mini-PC has no Internet access, its screen shows Internet connection required and the setup waits: it resumes on its own as soon as the connection is back. If the power goes out, just turn the mini-PC back on: the setup continues where it left off.
Step 6: Open Gladys
When the screen shows Gladys Assistant is ready, open http://gladysassistant.local in your browser, from a computer or phone on the same network. If you kept the setup page open, it switches to Gladys on its own (refresh it if needed).

If gladysassistant.local does not open, use the address displayed under it on the screen of the mini-PC instead (for example http://192.168.1.42). Some networks, for example some Android phones, guest networks or routers with client isolation, do not support these local names.
All that's left is to create your account and set up your home: see Create your account. You can unplug the screen and the keyboard, the mini-PC no longer needs them.
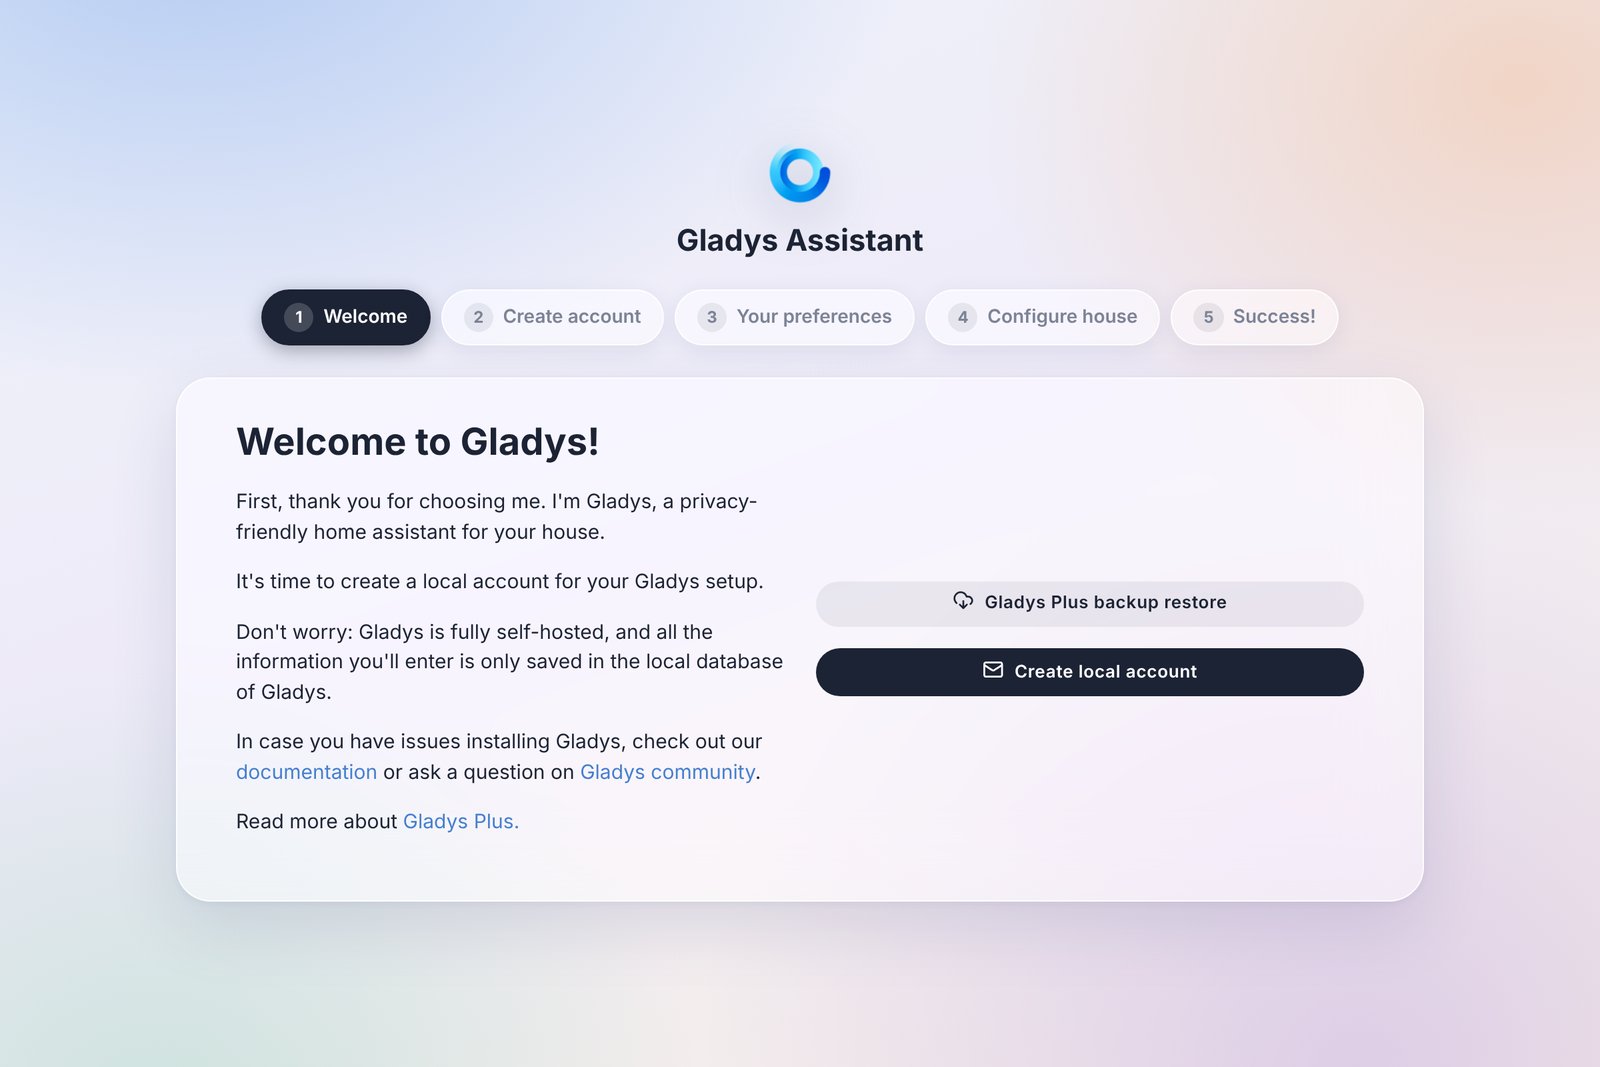
Already using Gladys Plus? The Gladys Plus backup restore button of this screen lets you restore the backup of your previous installation instead of starting from scratch. Moving from another machine? Follow the move to a new machine guide.
Give the mini-PC a fixed IP address with a DHCP reservation in the settings of your router: its address will then never change.
Updates
- Gladys updates itself. Watchtower is installed alongside Gladys and installs each new version automatically. You have nothing to do.
- Ubuntu security updates are installed automatically. The mini-PC never restarts on its own, though: some updates (of the Linux kernel, for example) only apply after a restart. Restart the mini-PC from time to time, for example with
sudo rebootover SSH. Gladys starts again by itself. - You don't need to reinstall when a new version of Gladys Assistant OS comes out: new versions only matter for new installations.
Going further
Gladys Assistant OS is a standard Ubuntu Server, so you stay in control of your machine. A few useful things if you are comfortable with a terminal:
- Log in remotely (if you kept OpenSSH):
ssh [email protected], or with the IP address of the mini-PC. - Gladys data is stored in
/var/lib/gladysassistant. - Gladys and Watchtower are started with Docker Compose, from
/opt/gladys/compose.yaml. Your account can usedockerwithoutsudo(log in again once after the installation if it asks forsudo). - Bluetooth: to use Bluetooth sensors or pair Matter devices over Bluetooth, install BlueZ on the mini-PC:
sudo apt install -y bluez. - Diagnostics:
sudo gladys-diagnosticsdisplays the state of the machine. Its output contains no password or secret, so you can share it on the forum if you need help. - Time zone: it is detected automatically. To change it, for example to
America/New_York:
sudo timedatectl set-timezone America/New_York
echo GLADYS_TZ=America/New_York | sudo tee /opt/gladys/.env
docker compose -f /opt/gladys/compose.yaml up -d gladys
Troubleshooting
The screen shows "Internet connection required": the mini-PC has no Internet access. Check the Ethernet cable and your router: the setup resumes on its own, without a restart, as soon as the connection works.
gladysassistant.local does not open: your network does not support local names. Use the address shown on the screen of the mini-PC.
The screen stays black after Reboot Now: the installation is already finished. Remove the USB drive and restart the mini-PC with its power button.
The browser still shows the setup page: Gladys is not ready yet. Wait for Gladys Assistant is ready on the screen, then refresh the page.
The screen shows "Setup cannot continue": log in on the mini-PC (press Ctrl+Alt+F2 to get a login prompt, or use SSH) and run sudo gladys-diagnostics. Then ask for help on the forum with its output.
To see the logs of Gladys itself, see how to download Gladys logs.
Prefer to install manually?
Gladys Assistant OS dedicates the whole mini-PC to Gladys. If you'd rather install Ubuntu Server or Debian yourself, or run Gladys on a machine that already does something else (a NAS, a server, a virtual machine), follow the Docker installation guide.
Frequently asked questions
What is Gladys Assistant OS?
Gladys Assistant OS is the official installer of Gladys Assistant for mini-PCs. It installs Ubuntu Server 26.04 LTS, Docker and Gladys, then keeps Gladys up to date automatically. You write it to a USB drive, start the mini-PC from it and answer a few questions: no command line needed.
Which mini-PC do you recommend for Gladys?
We use and recommend the Beelink Mini S13. It is powerful, quiet, energy-efficient and runs Gladys reliably over the long term. Gladys Assistant OS is made for any mini-PC with an Intel or AMD processor that starts in UEFI mode: plan at least 8 GB of RAM and an SSD.
Why use a mini-PC instead of a Raspberry Pi?
A mini-PC gives you more CPU power, more RAM and faster, more reliable storage than a Raspberry Pi, usually for a similar total price once you add a case, power supply and SSD. It is the setup we recommend to run Gladys smoothly over the long term.
Can I install Gladys Assistant OS over Wi-Fi?
No, the installer needs an Ethernet cable with Internet access. A wired connection is also more reliable for a home automation hub that runs all day.
Will Gladys Assistant OS erase my mini-PC?
Yes. Gladys Assistant OS erases the internal disk it installs on, after asking you to confirm. Back up anything you want to keep before installing.
Can I still use the mini-PC for other things?
Yes. Gladys Assistant OS is a standard Ubuntu Server: you can log in over SSH and run other Docker containers next to Gladys. Automatic updates only apply to Gladys and Watchtower: your other containers are never updated, unless you add the Watchtower label to them.