Integrating Shelly with Gladys via Matterbridge
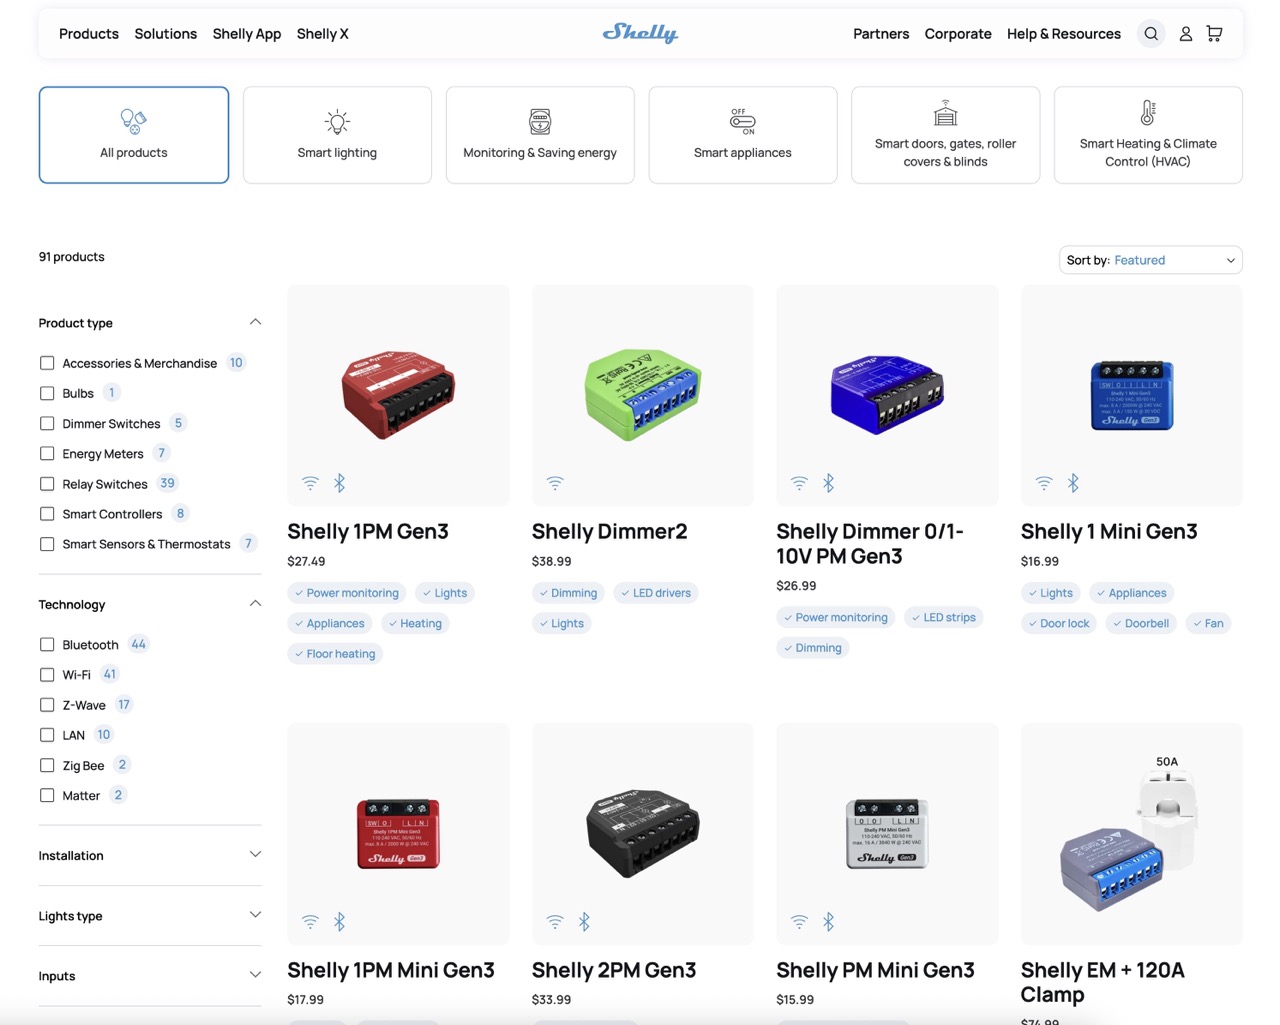
Shelly is a popular brand in the home automation field, known for its compact, affordable, and easy-to-integrate Wi-Fi modules. They allow you to automate lighting, outlets, or roller shutters without requiring a central hub.
Version 4.58 of Gladys Assistant introduces official support for the Matter standard. While Shelly's 4th generation devices are fully compatible with Matter, previous versions unfortunately aren't all compatible.
Fortunately, thanks to the open-source project Matterbridge, you can make devices that aren't natively compatible with Matter compatible, and thus control them in Gladys as easily as native devices.
This step-by-step guide will explain how to:
- Deploy Matterbridge in a Docker container.
- Commission the bridge in Gladys.
- Expose and control your Shelly modules.
Prerequisites
- Gladys Assistant 4.58 installed and functional
- IPv6 local network enabled
- At least one Shelly module (Gen 1/2/3/Plus/BLU)
- Docker + Docker Compose available on the host machine
- Terminal/SSH access & text editor
1. Deploy Matterbridge
First, you need to deploy Matterbridge in Gladys. Follow the Matterbridge integration guide to enable and start Matterbridge.
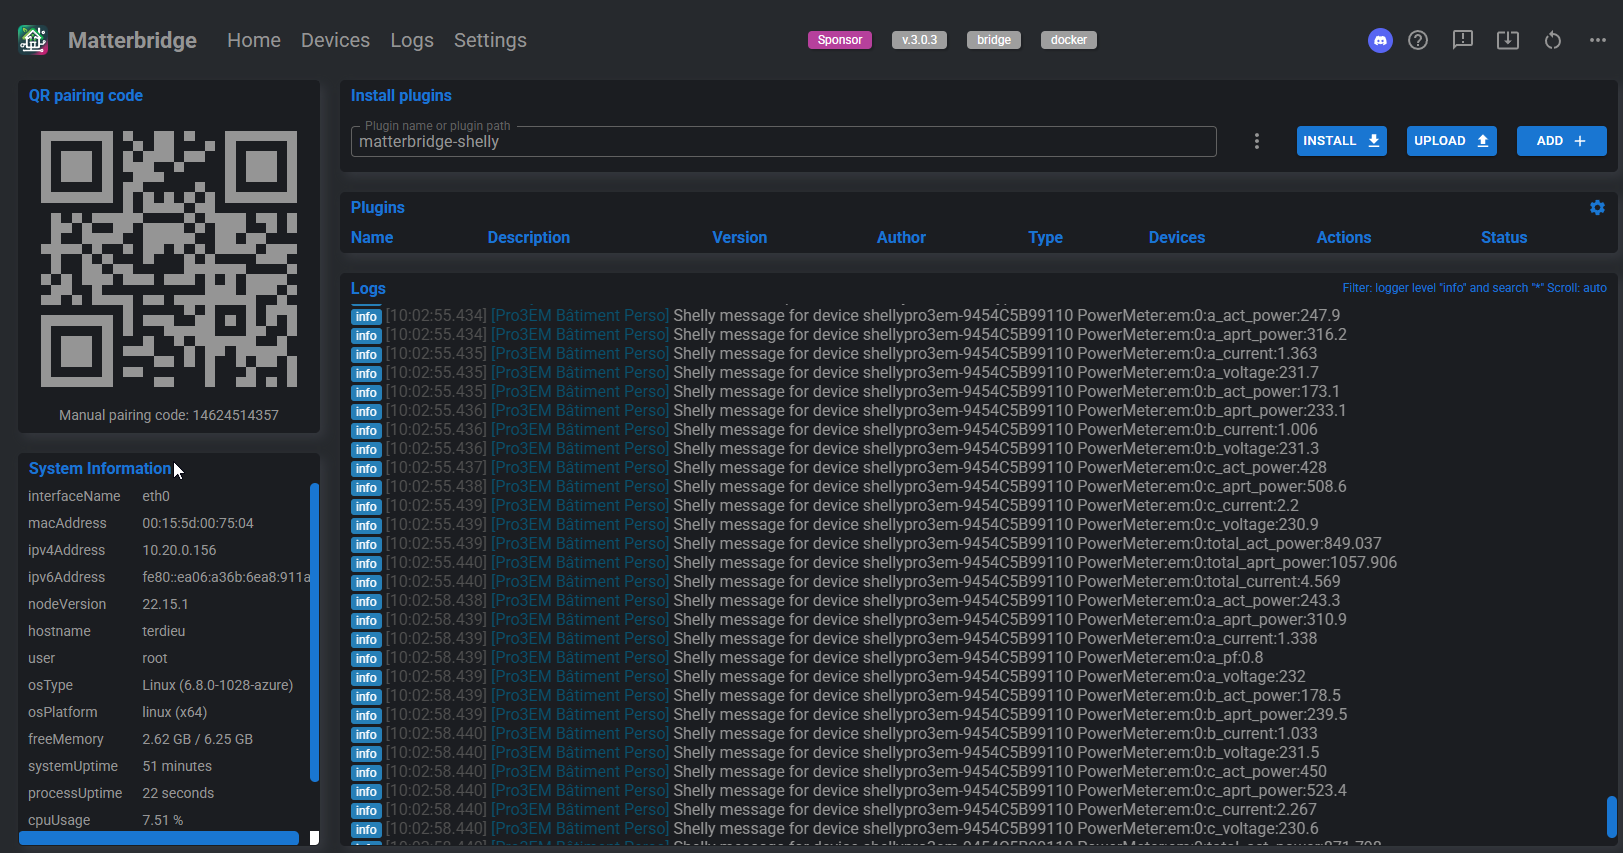
Once Matterbridge is running, access its web interface at http://YOUR-SERVER-IP-ADDRESS:8283.
Go to the main page of Matterbridge. You should first check if an update is available. If so, run it and wait until it restarts.


2. Install the Shelly plugin
To install the Shelly plugin, click on the 3 dots matterbridge-shelly → INSTALL,


Once the plugin is installed, Matterbridge should restart automatically. If not, you can restart manually by clicking on the icon in the top right corner of the interface.
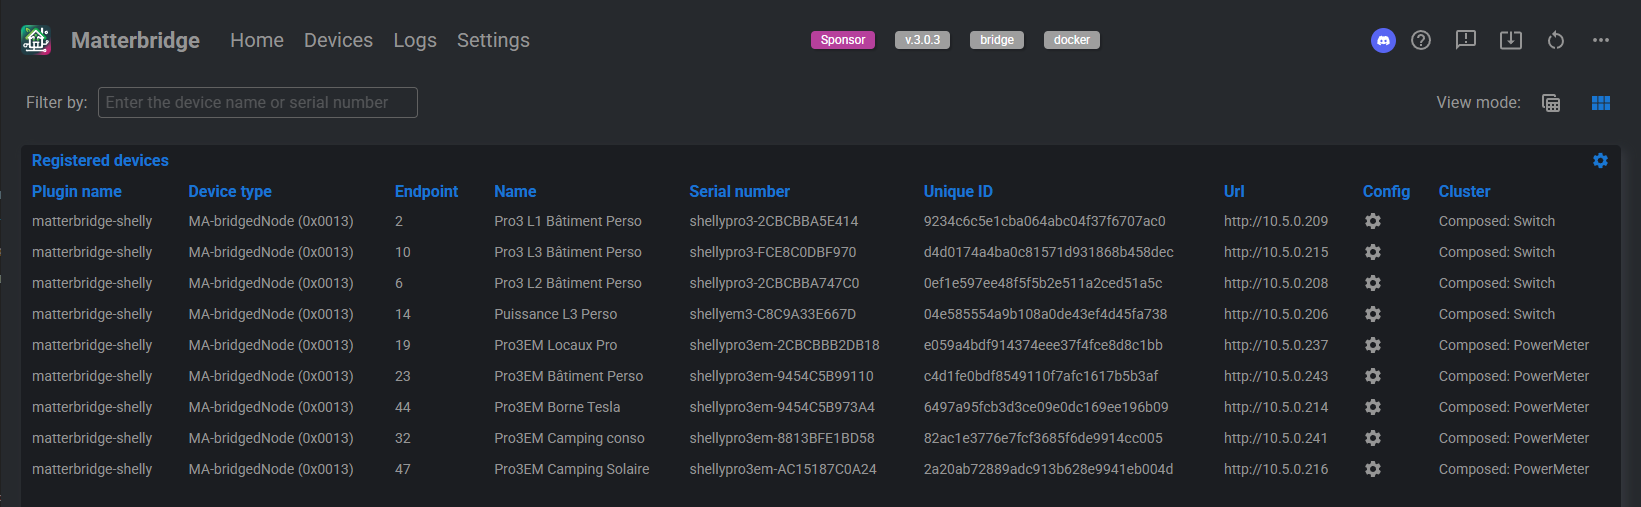
Your Shelly devices connected to the network will be automatically discovered without additional intervention. You can verify this in the interface logs and under the Devices tab.
3. Commission the bridge in Gladys
First, get the Manual pairing code from the Home main page.

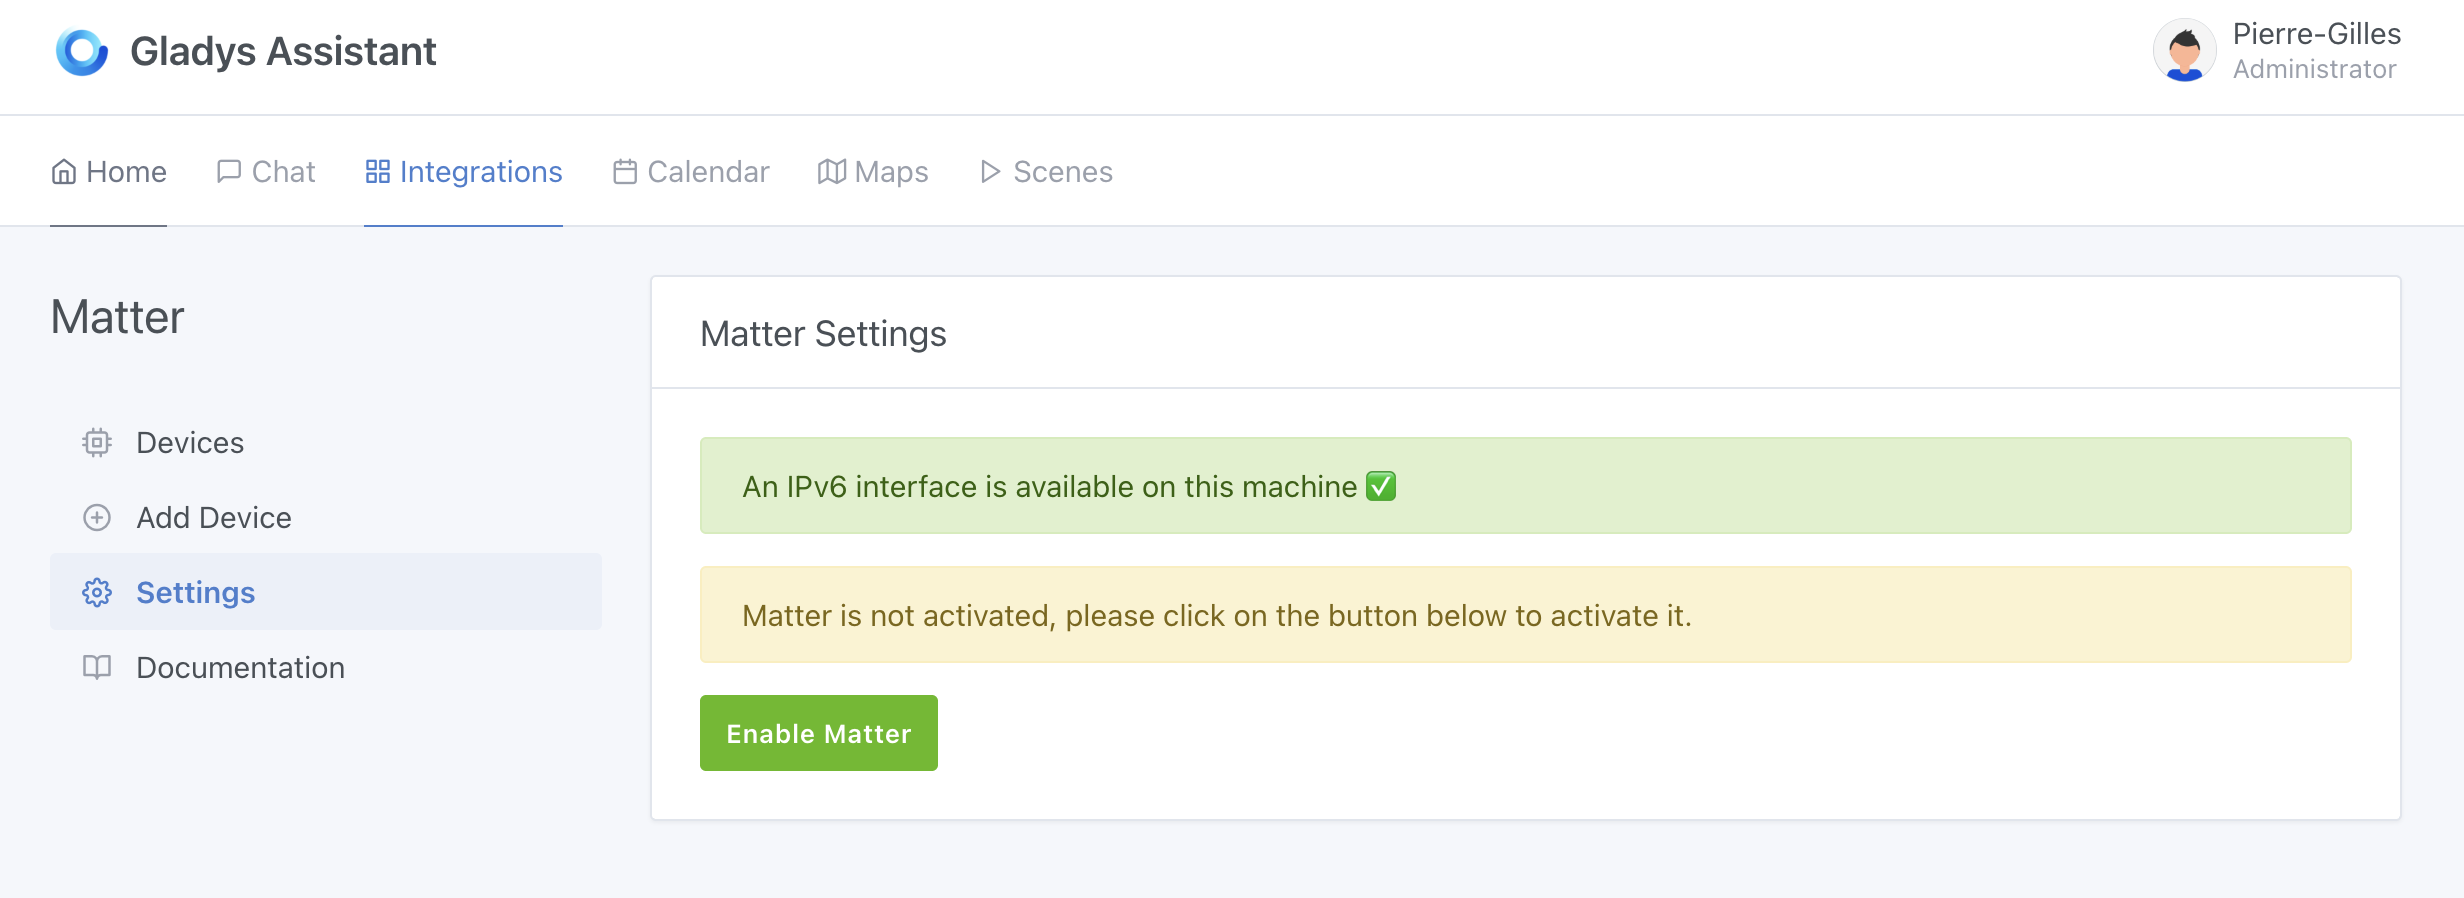
In Gladys, open the "Matter" integration from the Integrations → Matter menu.
If you haven't already done so, enable "Matter" from the Settings menu.
Click on the Add a device tab, then paste or enter the Pairing code previously displayed by Matterbridge. Click on Add to Gladys.
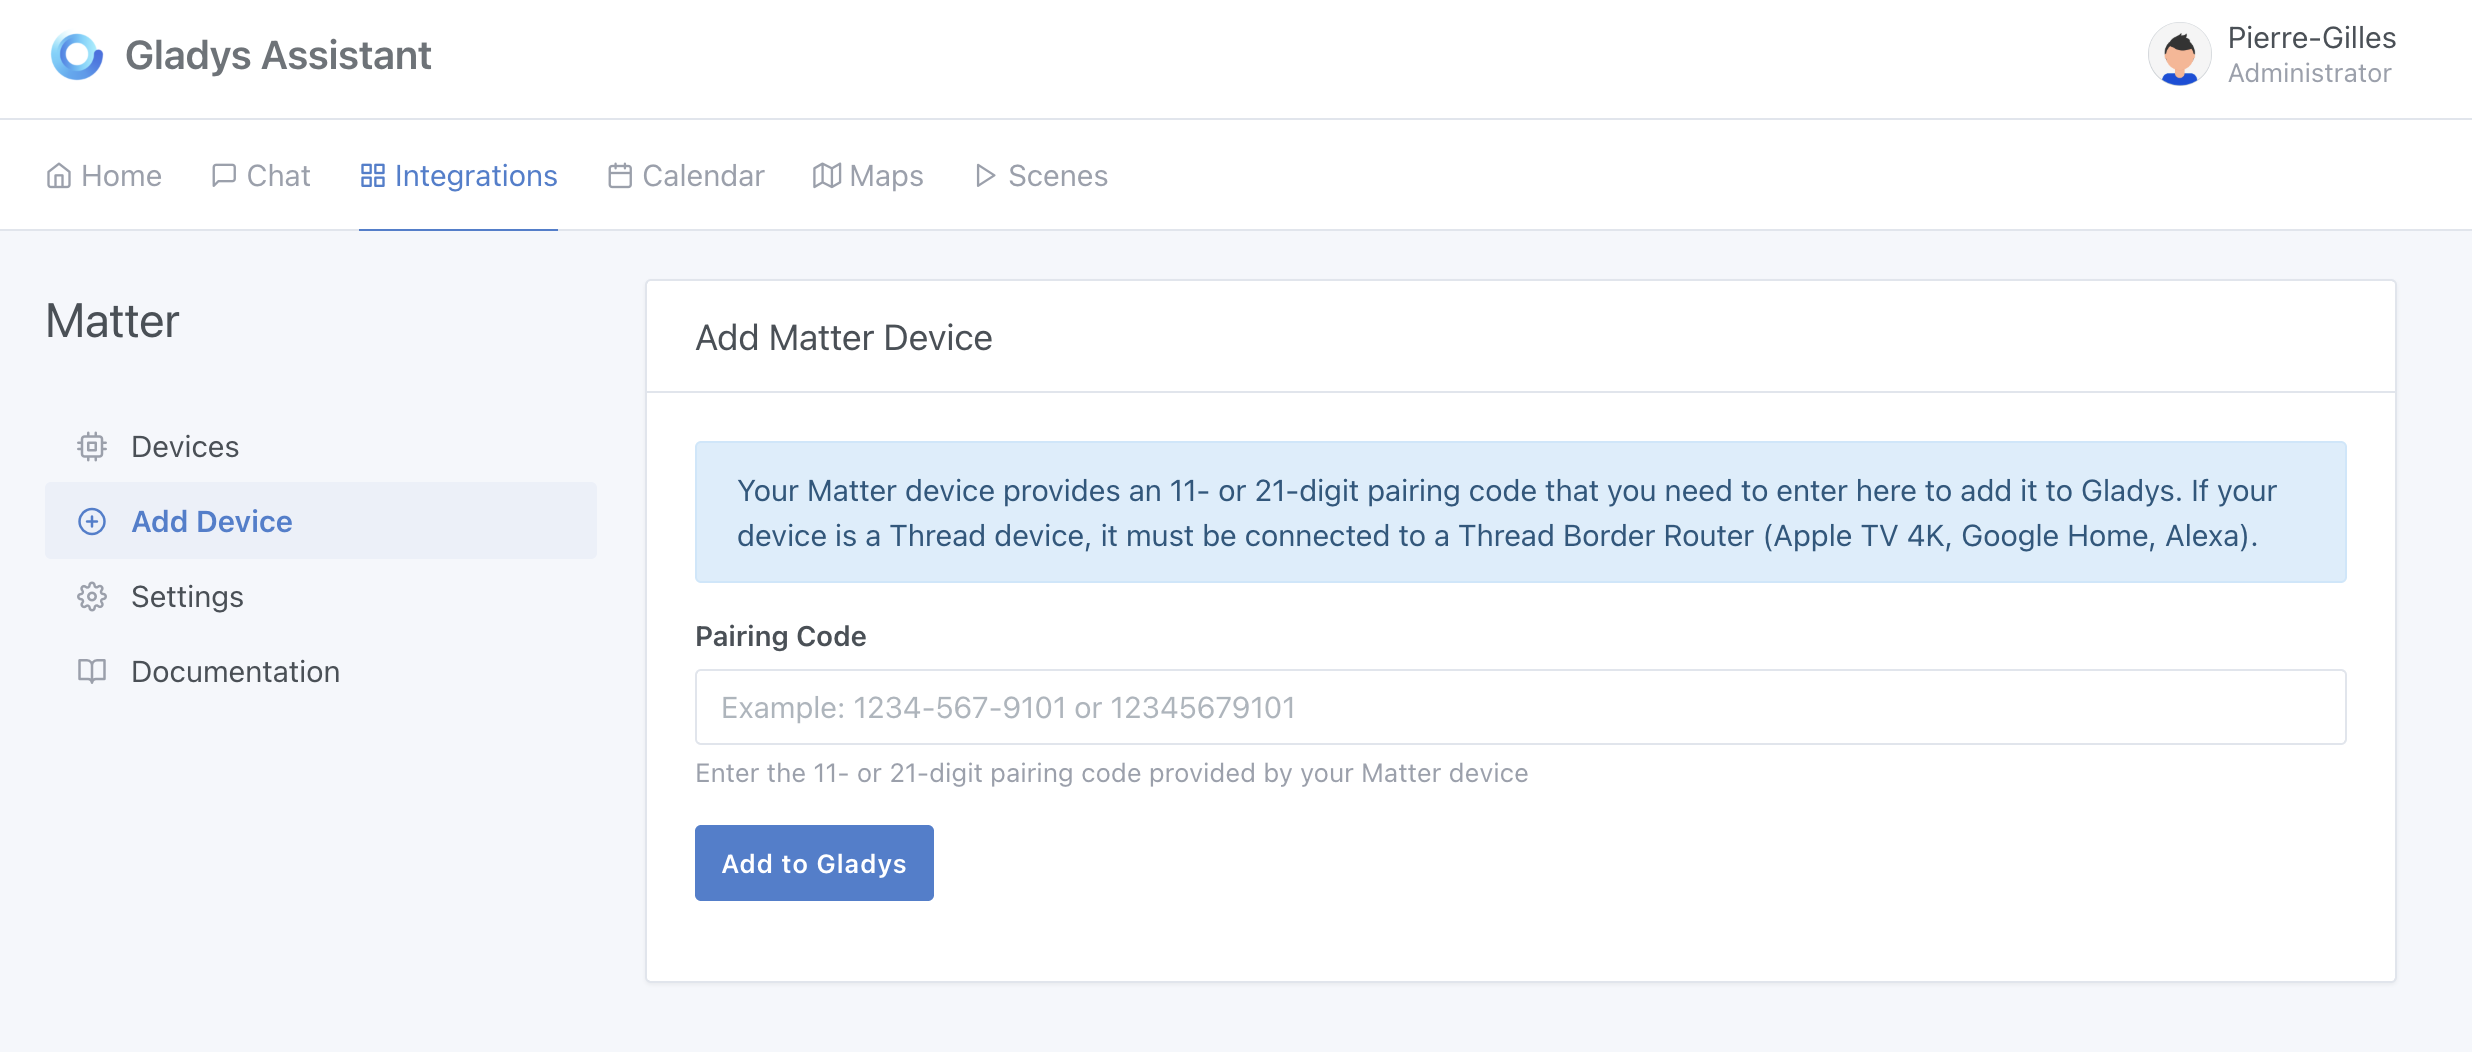
Wait a few seconds: You can now integrate your compatible Shelly devices into Gladys Assistant.
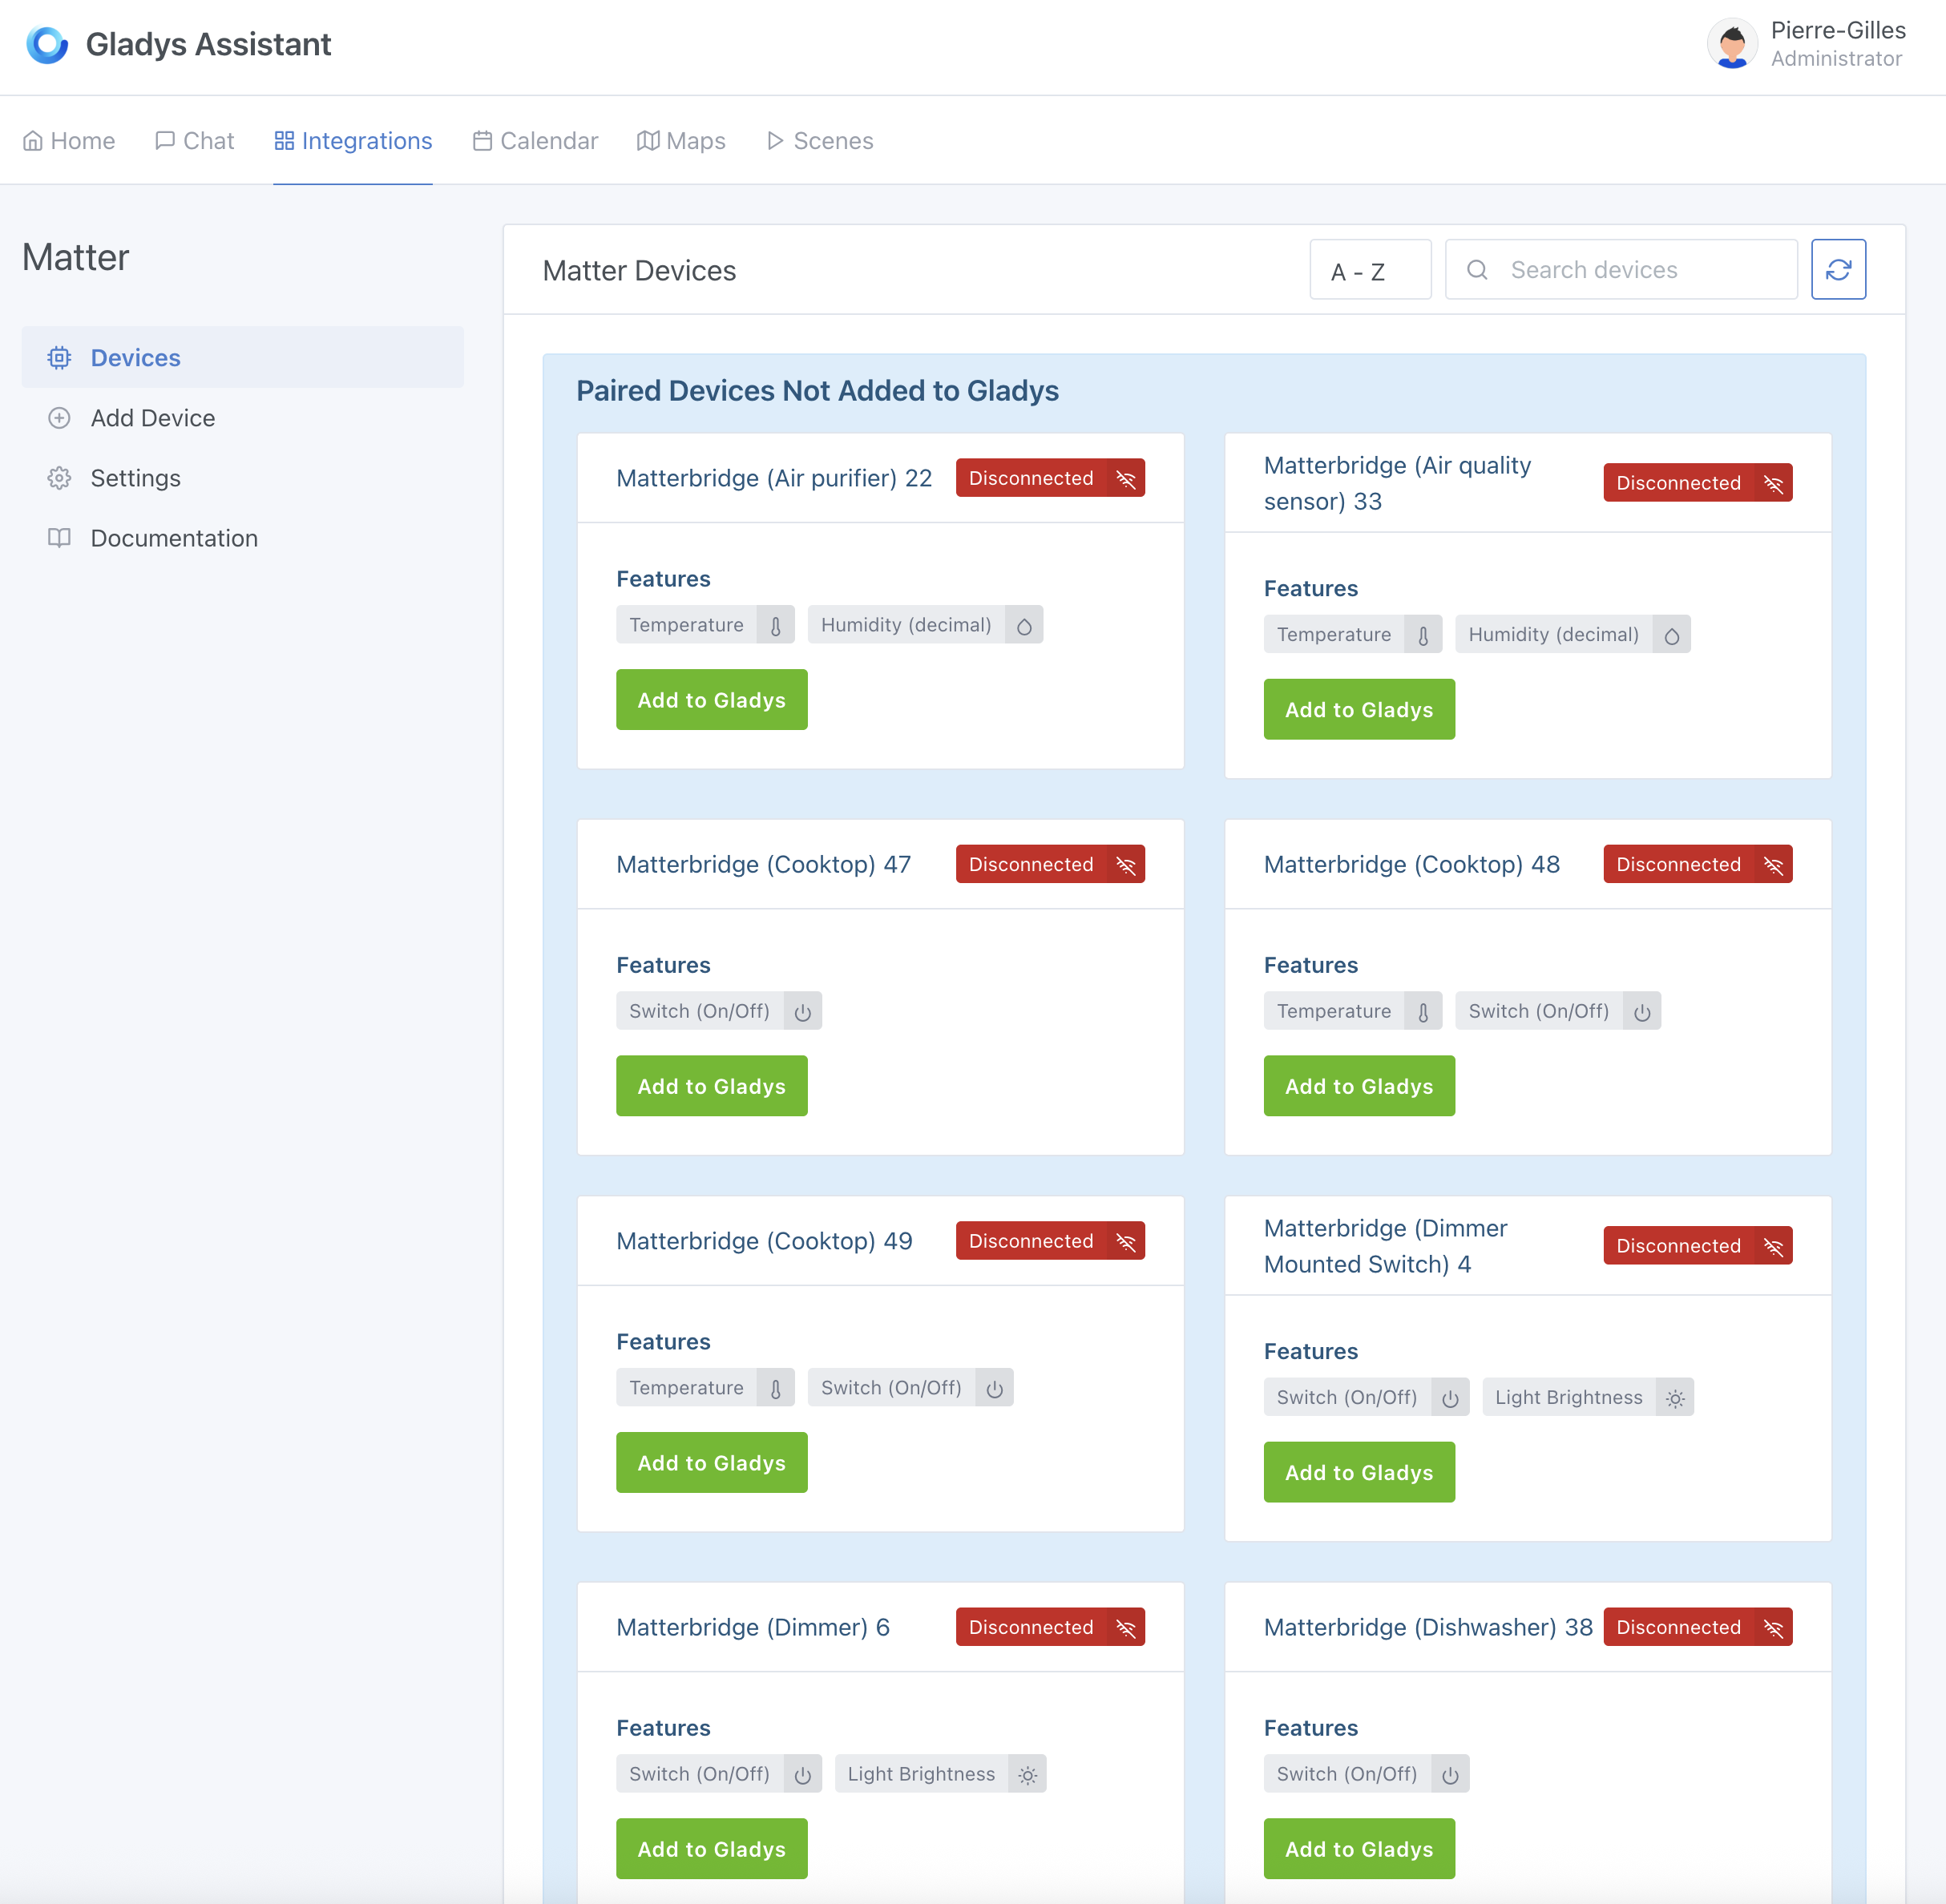
You can add these devices by clicking on "Add to Gladys".
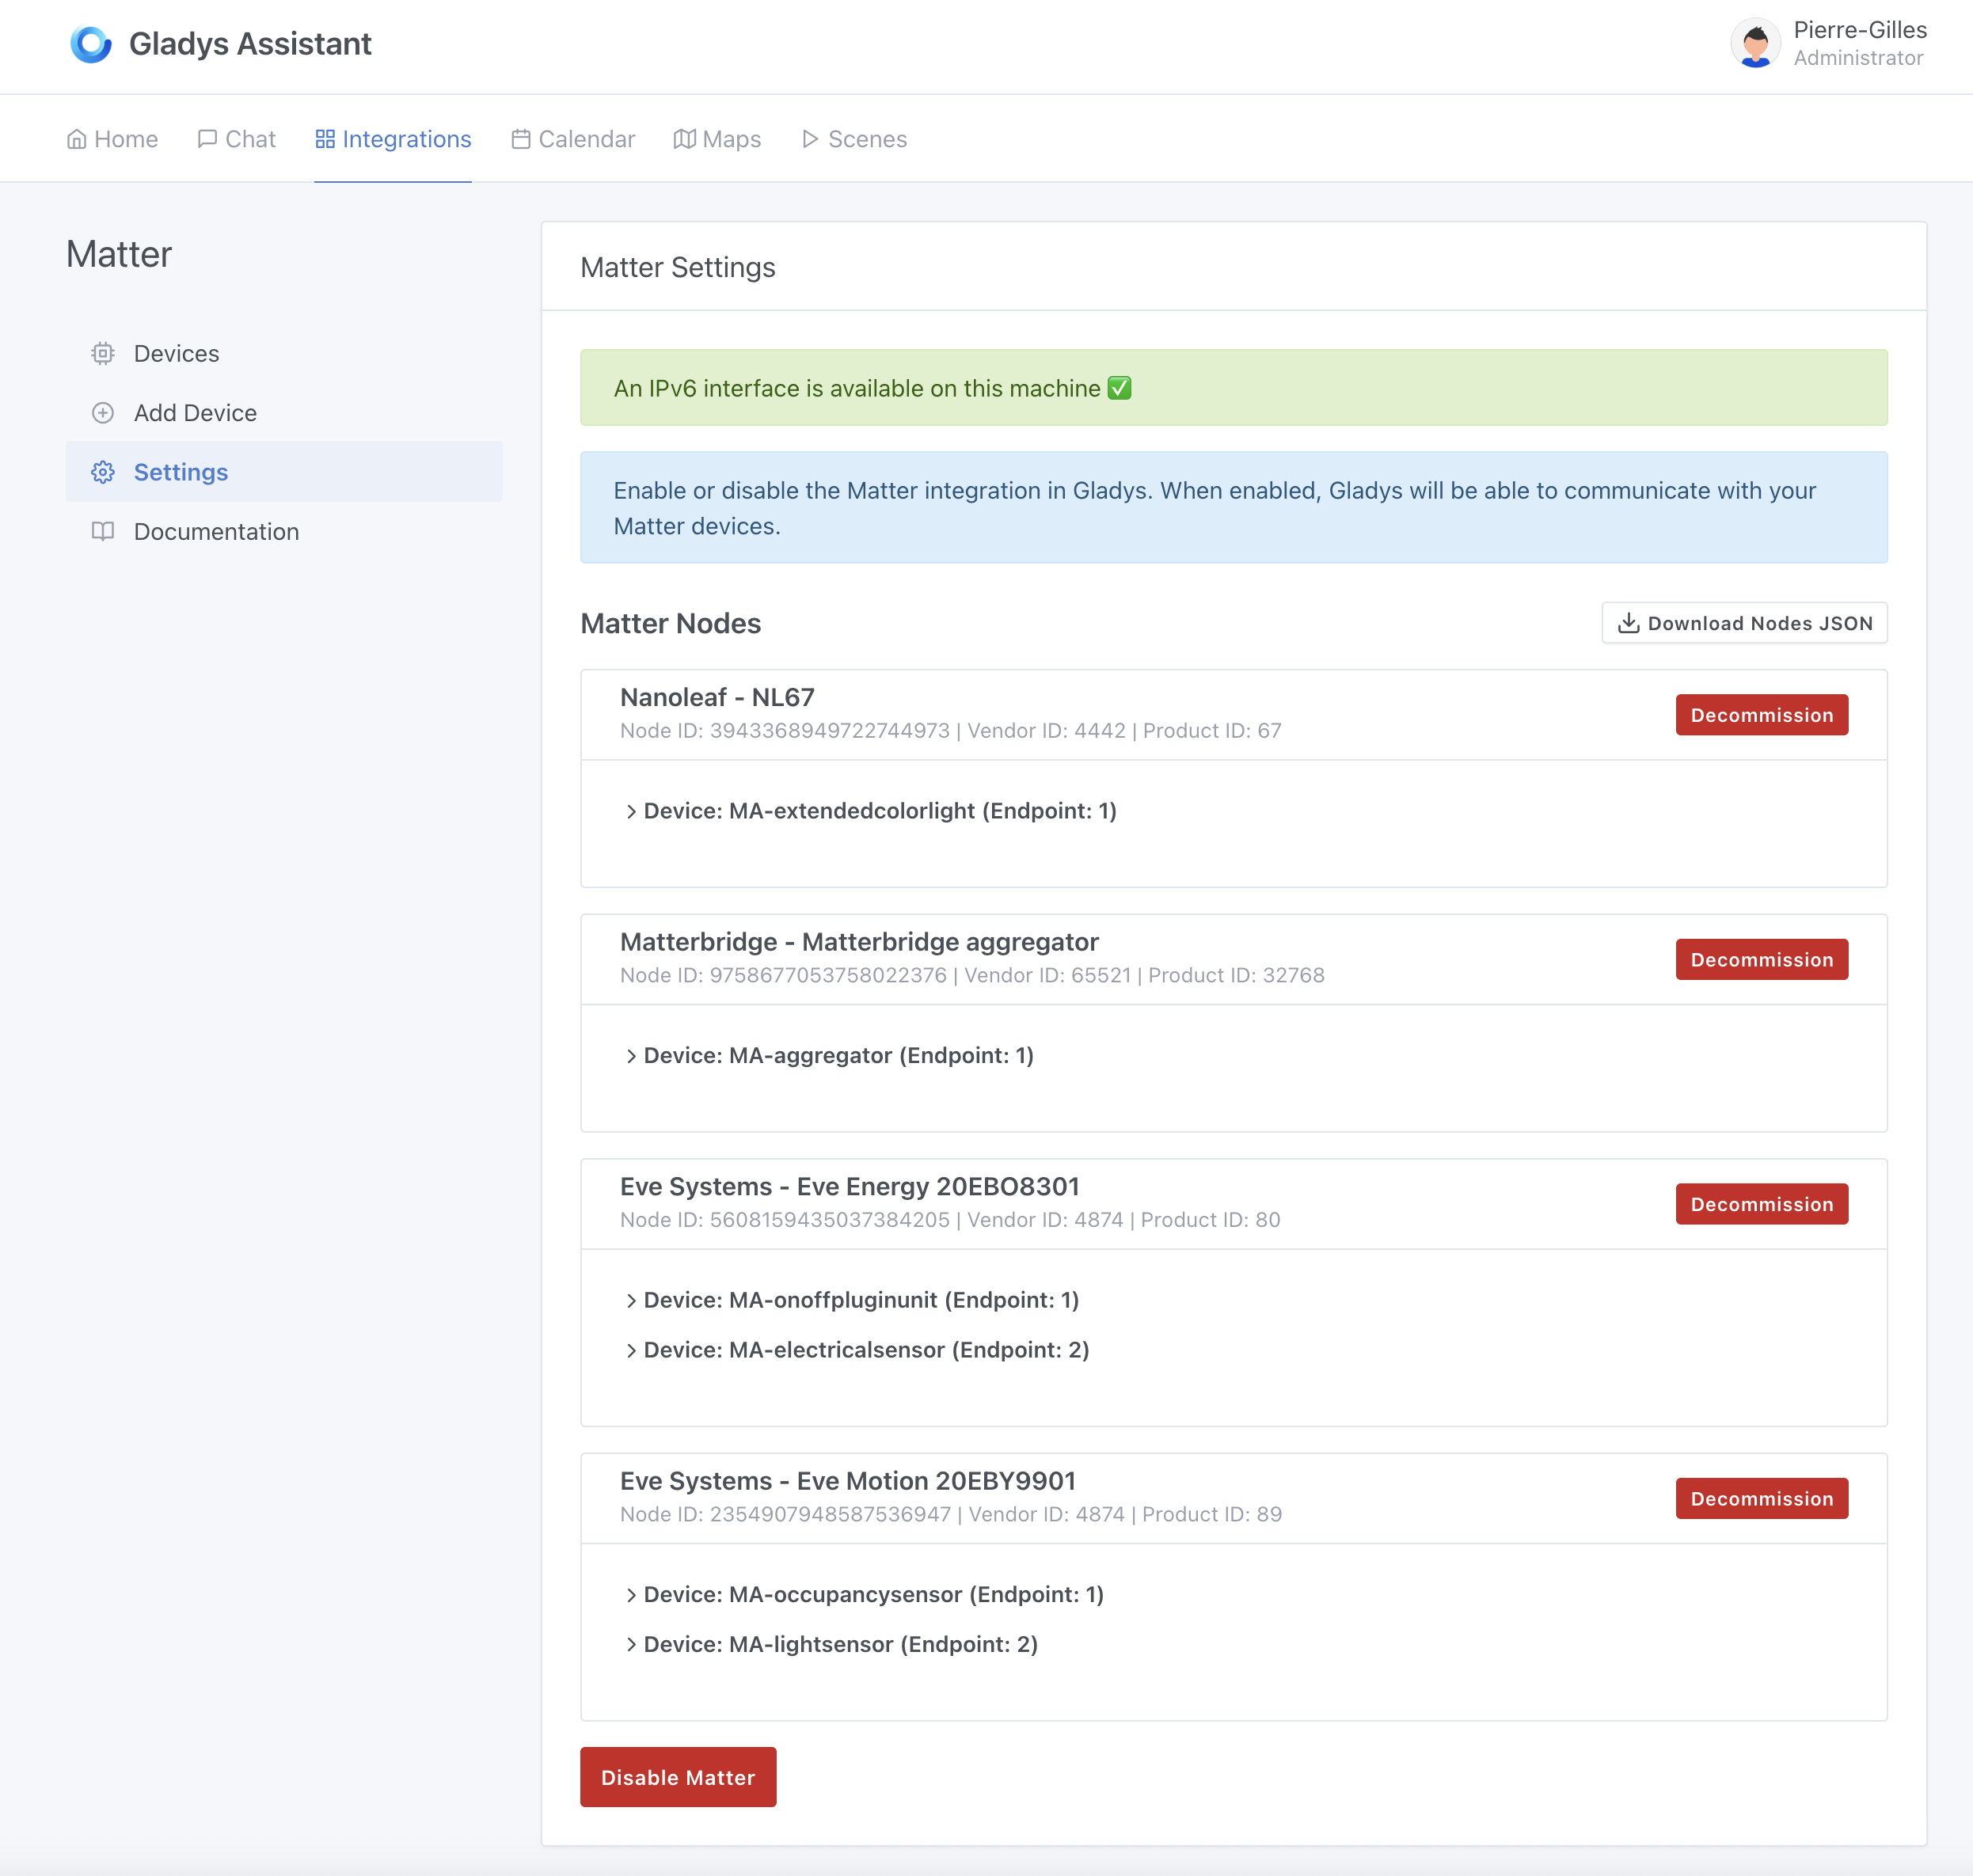
The bridge now appears in the Settings tab.
4. Going further
- Enable other Matterbridge plugins: Zigbee2MQTT, Somfy Tahoma, Home Assistant, etc.
- Add these devices to your dashboard
- Create Gladys scenes (e.g., turn off all lights at night).
Conclusion
In just a few minutes, you've transformed your Shelly modules into Matter-compatible devices fully integrated with Gladys Assistant.
Thanks to the Matter standard and the Matterbridge project that make the ecosystem even more open!