Philips Hue Smart-Home-Integration, kostenlos und Open Source
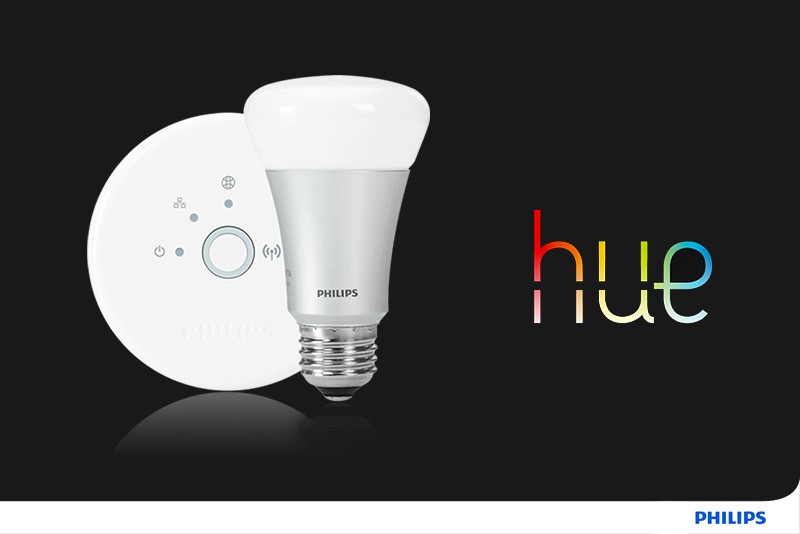
Control Philips Hue lights (on/off, brightness, color, white temperature) from Gladys, locally.
Veröffentlicht von cicoub13
- Geräte
- Version 2.0.0
- Erfordert Gladys >=5.1.0
- ★ 0
Die Dokumentation dieser Integration wird von ihrem Autor geschrieben und ist bisher nur auf Englisch verfügbar.
Control your Philips Hue lights from Gladys, directly over your local network (no Hue cloud account required).
What you get
Each Hue light is exposed as a Gladys device with the features it supports:
| Hue light type | On/Off | Brightness | Color | White temperature |
|---|---|---|---|---|
| On/Off light | ✅ | |||
| Dimmable light | ✅ | ✅ | ||
| Color temperature light | ✅ | ✅ | ✅ | |
| Color light | ✅ | ✅ | ✅ | |
| Extended color light | ✅ | ✅ | ✅ | ✅ |
States are refreshed by polling at the interval you choose in Refresh interval (default: every minute).
Hue scenes in Gladys scenes
Requires Gladys 5.1 or later.
The Activate a Hue scene action of the Gladys scene editor recalls a scene created in the Hue app: all its lights take their color and brightness at once, with the bridge's transition.
- Scene: the name shown in the Hue app, for example
Relax. Case and surrounding spaces are ignored. - Room or zone (optional): only needed when several rooms have a scene with
that name, for example
Living room.
When the name matches no scene, or several, the action fails and the scene logs list the scenes (or the rooms) available. The rest of the Gladys scene keeps running.
Setup
- Make sure your Hue bridge is powered on and connected to the same local network as your Gladys server.
- Open the integration Configuration screen and click Discover bridges.
The IP address of your bridge should appear. If auto-discovery fails, type
the bridge IP address in the Bridge IP address field (a plain address or
hostname, for example
192.168.1.42— anything else is ignored and the button tells you so). - Press the round link button on top of the Hue bridge.
- Within 30 seconds, click Pair bridge. On success, your lights appear in the Discovery tab, ready to be created as devices.
How the bridge is found
Three methods are tried, in order, and the first one that finds a bridge wins:
- SSDP on your local network, performed by Gladys on the integration's behalf;
- mDNS (
_hue._tcp), same mechanism; - Philips' N-UPnP endpoint (
discovery.meethue.com) as a last resort. This one is a Philips cloud service: it needs Internet access and only returns bridges seen from the same public IP address. It is only used when the two local methods find nothing.
Whichever method finds it, every device is verified before being offered to
you: the integration asks it for its Hue identity card (/api/config). Devices
that do not answer like a Philips Hue bridge — a printer, a NAS, a speaker — are
discarded, and the message tells you how many were.
Troubleshooting
"No Hue bridge found" while the bridge is powered on: check that it sits on the same network as Gladys (a guest network or a separate VLAN makes it invisible). If the message says other devices answered but none is a Hue bridge, discovery did see your network but not the bridge: type its address in Bridge IP address. You will find it in the Hue app, under Settings → My devices → Bridge.
"The link button was not pressed": the bridge was found, only the pairing is missing. Press the round button on top of the bridge, then click Pair bridge again within the next 30 seconds.
Lights stopped responding: check that the bridge did not change IP address (reserve it in your router), then run a discovery again.
Notes
- The pairing credentials (the bridge username) are stored in the integration
data volume (
/data) and survive restarts. You only pair once. - Controlling your lights is always 100 % local: commands and state reads go straight to the bridge over your LAN. Only the last-resort discovery step above may contact a Philips server, and only while you look for your bridge.
- The container must be able to reach the bridge on your LAN (HTTP on port 80, or HTTPS if your bridge no longer accepts plain HTTP).
- HTTPS security: a Hue bridge serves a certificate issued by Philips rather than by a public authority. On first contact the integration checks that this certificate carries the bridge's own identifier, then remembers its fingerprint. On later connections any different fingerprint is refused, so a device impersonating your bridge is blocked.
Konfigurationseinstellungen
Diese Einstellungen fragt Philips Hue in seinem Konfigurationsbildschirm in Gladys ab.
| Einstellung | Typ | Pflichtfeld | Beschreibung |
|---|---|---|---|
| Pairing your Hue bridge | section | Nein | Use the buttons below: first "Discover bridges" to find your Hue bridge on the network, then press the physical link button on top of the bridge and click "Pair bridge" within 30 seconds. You can also fill the bridge IP manually if auto-discovery fails. |
| Bridge IP address (optional) | string | Nein | Only needed if automatic discovery does not find your bridge. Example: 192.168.1.42 |
| Refresh interval | select | Nein | How often the light states are refreshed from the bridge. |
So installierst du Philips Hue in Gladys
- Öffne in Gladys Integrationen: Philips Hue erscheint im Katalog neben den nativen Integrationen, mit einem Community-Badge.
- Klicke auf Installieren. Gladys lädt das Docker-Image (
ghcr.io/cicoub13/gladys-philips-hue:2.0.0) herunter, startet es in einer vom Kern isolierten Sandbox und erzeugt die Oberfläche der Integration (Geräte, Erkennung und Konfiguration). - Öffne den Bildschirm Konfiguration der Integration, fülle die Einstellungen aus und speichere.
- Du kannst sie auch direkt über die URL ihres Repositorys installieren: https://github.com/cicoub13/gladys-philips-hue.
Philips Hue benötigt Gladys >=5.1.0. Der Katalog in Gladys wird stündlich aktualisiert, eine neue Version ist also spätestens eine Stunde nach ihrer Veröffentlichung verfügbar.
Du nutzt Gladys noch nicht? Es ist kostenlos und Open Source: folge der Installationsanleitung, um loszulegen.
Passende Ratgeber
- Philips Hue ohne Bridge: Hue-Lampen direkt mit einem Zigbee-Stick koppeln.
Über externe Integrationen
Philips Hue ist eine externe Integration: eine Community-Integration, die als Docker-Container verpackt und auf GitHub veröffentlicht wird. Gladys installiert sie mit einem Klick und führt sie in einer vom Kern isolierten Sandbox aus. Sie wird von cicoub13 veröffentlicht und gepflegt, nicht vom Gladys-Kernteam.
- Alle externen Integrationen durchsuchen
- Die nativen Integrationen entdecken, die in Gladys eingebaut sind
- Deine eigene externe Integration bauen und veröffentlichen
- Quellcode auf GitHub — Quelle dieser Dokumentation